2023/05/22

GM ACDelco E80 Clone with OBDSTAR DC706

 Any chance to clone GM ACDelco E80 ECU without opening?


Yes, OBDSTAR DC706 programmer can read, clone E80 ECU on bench. It will read pin code as well.

I/O terminal will read and clone ACDelco E80 as well, but it ask to do checksum with ktag because I/O does not correct checksum. DC706 will correct checksum automatically.


For example: clone E80 of Chevrolet Equinox 2.0 Turbo

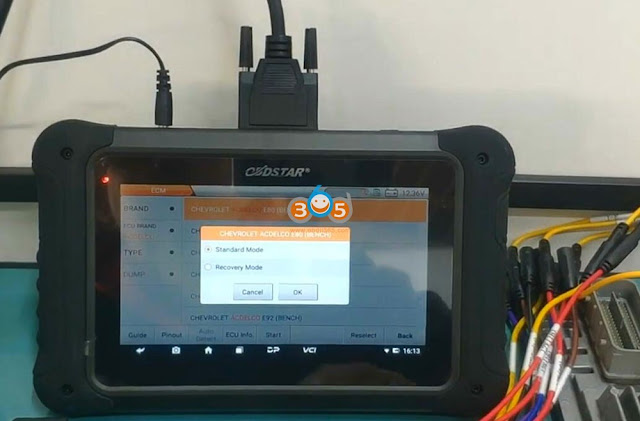
Select Brand->ECM->Chevrolet ACDelco E80 (bench)

GM ACDelco E80 Clone with OBDSTAR DC706 1

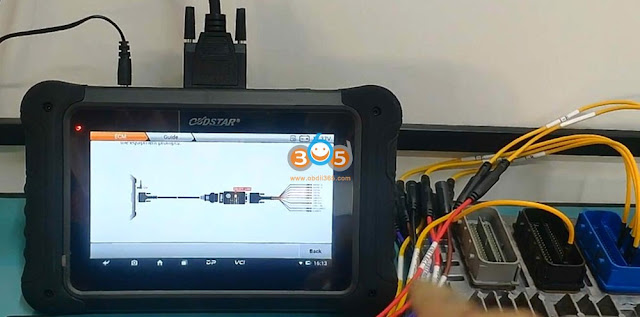
Check instruction guide and pinout (here we use standard mode)

GM ACDelco E80 Clone with OBDSTAR DC706 2

GM ACDelco E80 Clone with OBDSTAR DC706 3

GM ACDelco E80 Clone with OBDSTAR DC706 4

Follow wiring diagram to connect DC706 with E80 ECM via P004 adapter and jumper

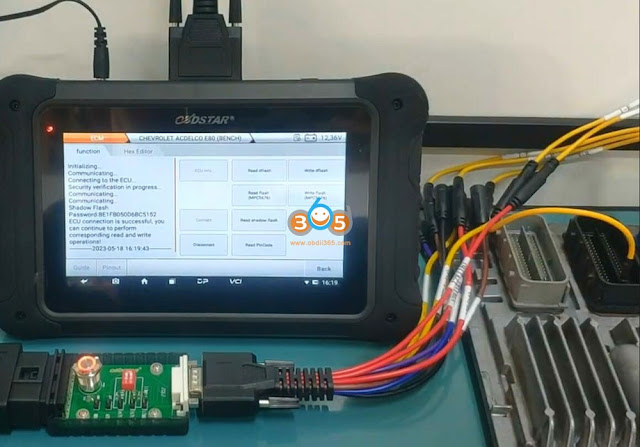
Turn on ignition on p004 adapter and read ECU information

GM ACDelco E80 Clone with OBDSTAR DC706 5

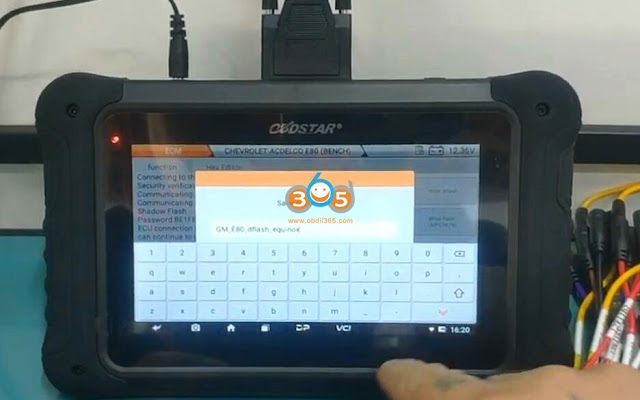
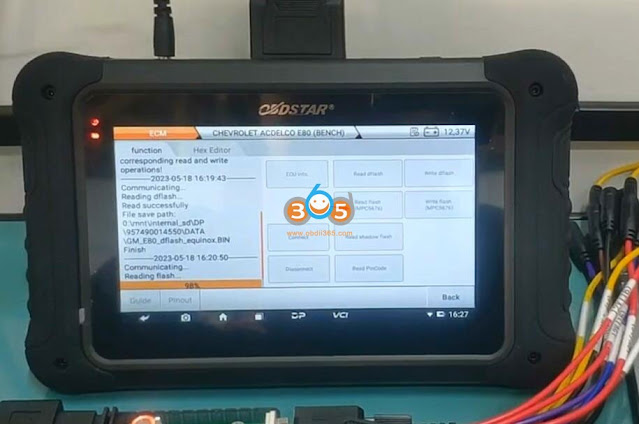
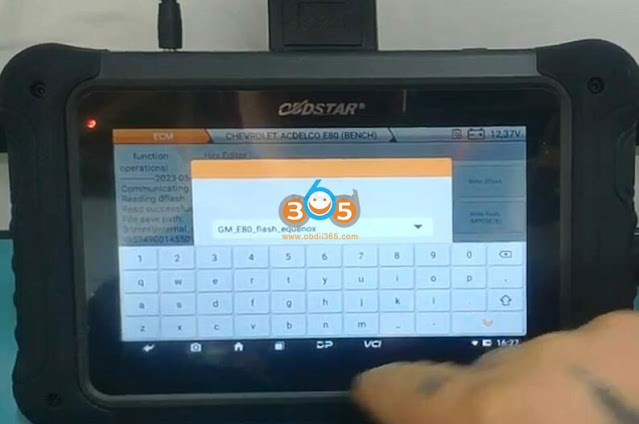
Read dFlash and save

GM ACDelco E80 Clone with OBDSTAR DC706 6

Read Flash MPC and save

GM ACDelco E80 Clone with OBDSTAR DC706 7

GM ACDelco E80 Clone with OBDSTAR DC706 8

Read and save shaowflash

GM ACDelco E80 Clone with OBDSTAR DC706 9

Read pin code

GM ACDelco E80 Clone with OBDSTAR DC706 10

It is important to backup data before cloning.

How to backup obdstar dc706 data?

Insert a USB disk to DC706 USB port

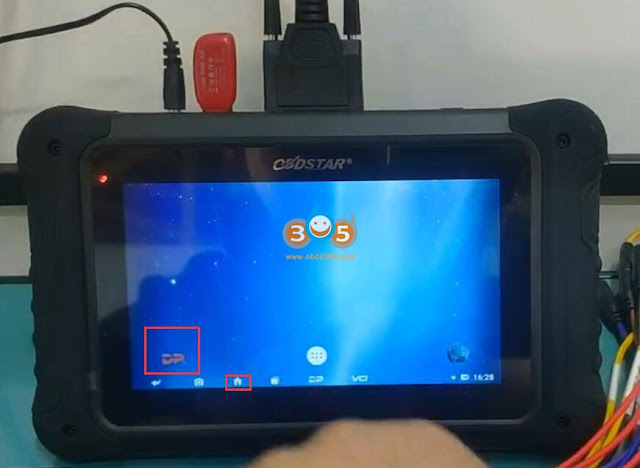
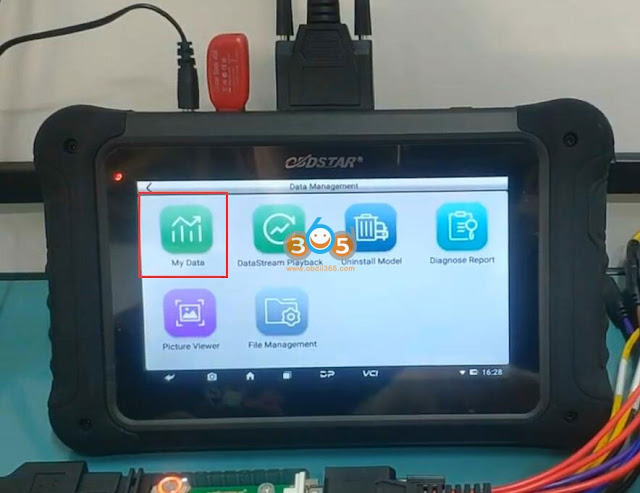
Go to Home menu, press DP icon, go to Data Management->My data->Local data

Tick files you need to backup
Long press files you need to backup and press Copy

Paste Files to USB Disk.

If the device says copy successfully, remove USB disk after 10 seconds.

Then insert USB disk to desktop to backup data.

GM ACDelco E80 Clone with OBDSTAR DC706 11

GM ACDelco E80 Clone with OBDSTAR DC706 12

GM ACDelco E80 Clone with OBDSTAR DC706 13

GM ACDelco E80 Clone with OBDSTAR DC706 14

GM ACDelco E80 Clone with OBDSTAR DC706 15

After backup data.

Connect OBDSTAR DC706 with a new ECM E80.

Write dFlash and Flash MPC accordingly.

GM ACDelco E80 Clone with OBDSTAR DC706 16


2023/05/19

How to Calculate Nissan Sylphy Sentra 28 Digit PinCode by OBDSTAR?

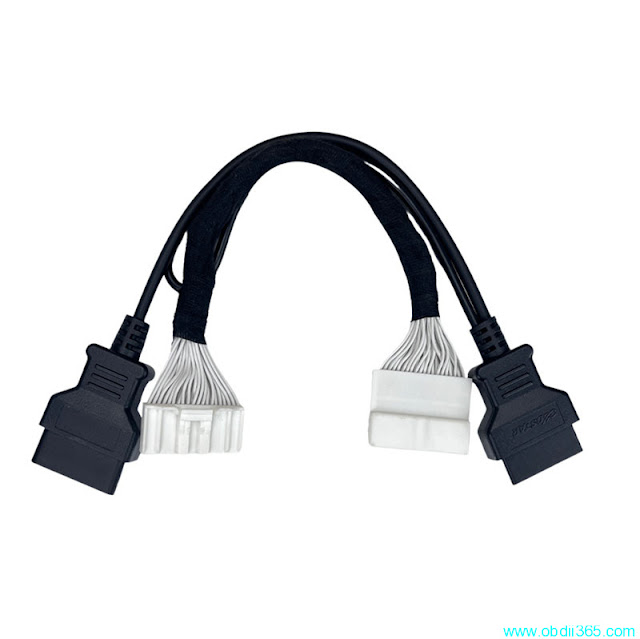
 OBDSTAR released a Nissan BCM 40 gateway adapter to bypass 2019- Nissan Sentra/Sylphy B18 28-digit pin code. Here is an example of adding a spare key to 2019 Sylphy using OBDSTAR X300 DP Plus and the new bypass cable via OBD.

nissan bcm 40 adapter

Procedure:

program Nissan Sylphy Sentra key by OBDSTAR 1?

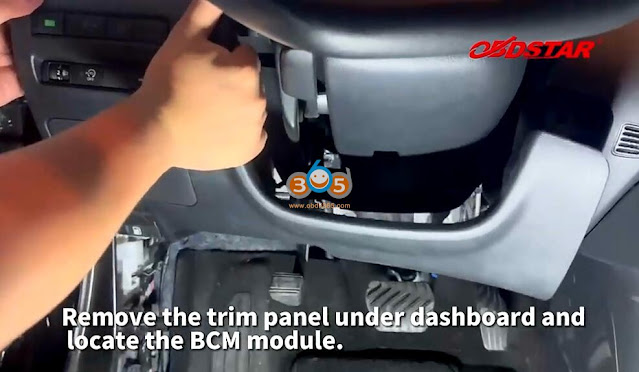
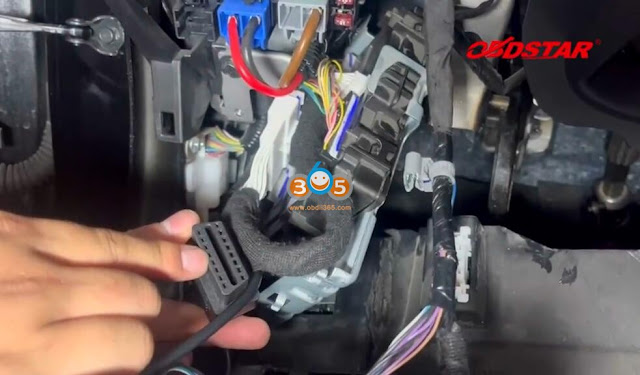
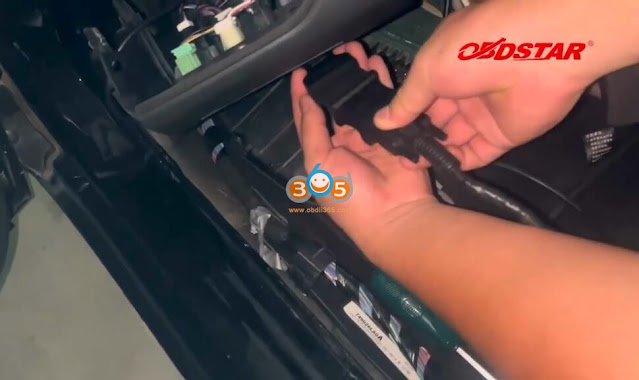
Remove the trim panel under dashboard and locate the BCM module
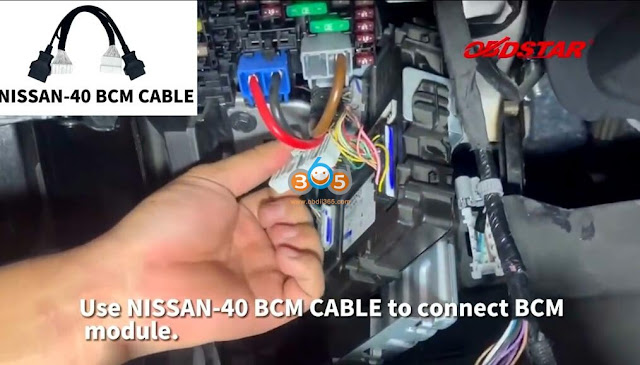
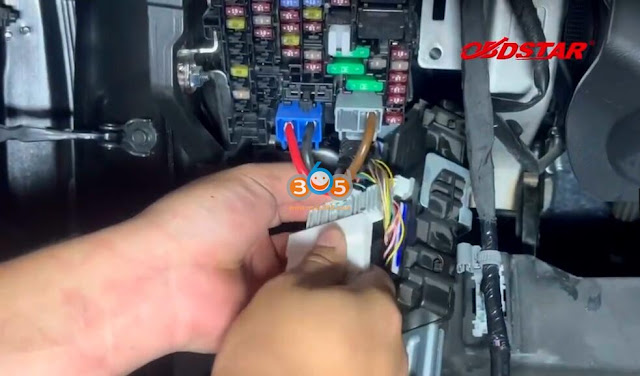
Connect Nissan 40 BCM gateway adapter with BCM module and x300 dp plus

program Nissan Sylphy Sentra key by OBDSTAR 2

program Nissan Sylphy Sentra key by OBDSTAR 3

program Nissan Sylphy Sentra key by OBDSTAR 4

program Nissan Sylphy Sentra key by OBDSTAR 5

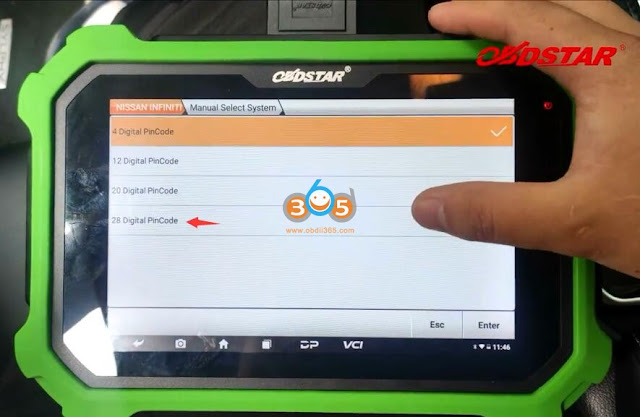
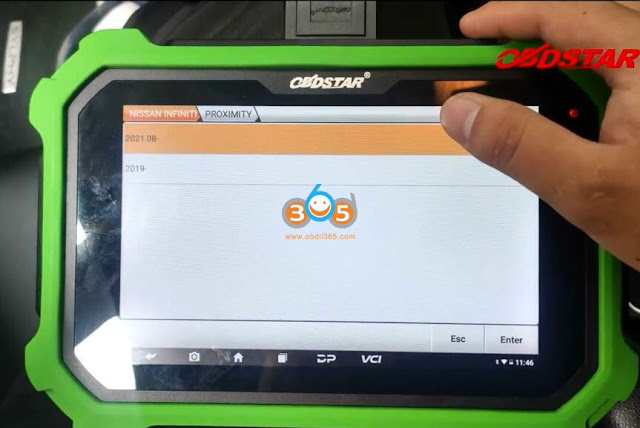
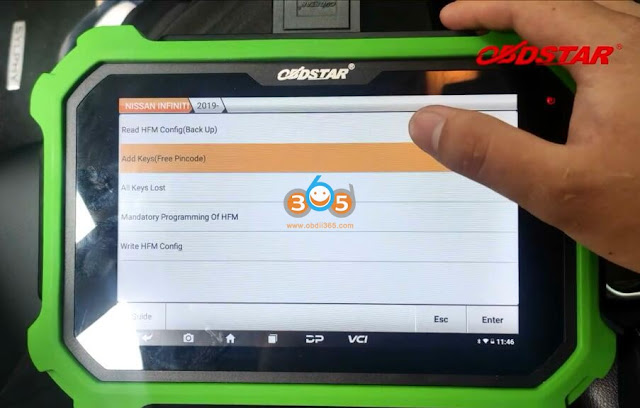
In X300 DP Plus, Select Nissan Infiniti->Latest software version->Manual Select System-28 Digital PinCode-> Sylphy B18/Sentra->Proximity-> 2019- onwards->Add key (Free Pincode)

program Nissan Sylphy Sentra key by OBDSTAR 6

program Nissan Sylphy Sentra key by OBDSTAR 7

program Nissan Sylphy Sentra key by OBDSTAR 8

program Nissan Sylphy Sentra key by OBDSTAR 9

program Nissan Sylphy Sentra key by OBDSTAR 10

Network connection is required to bypass pin.
Make sure the gateway connector is connected
Read caution and proceed.

  • The operation will erase all keys.
  • Only 2 new keys can be programmed each time.
  • There must be at least one key that can start the vehicle (if doing add key procedure)
  • After the 4-button smart key programming is completed, if the transponder and the smart are abnormal, need to write HFM Config.

program Nissan Sylphy Sentra key by OBDSTAR 11

Turn on ignition switch to start calculating pin code

program Nissan Sylphy Sentra key by OBDSTAR 12

program Nissan Sylphy Sentra key by OBDSTAR 13

program Nissan Sylphy Sentra key by OBDSTAR 14

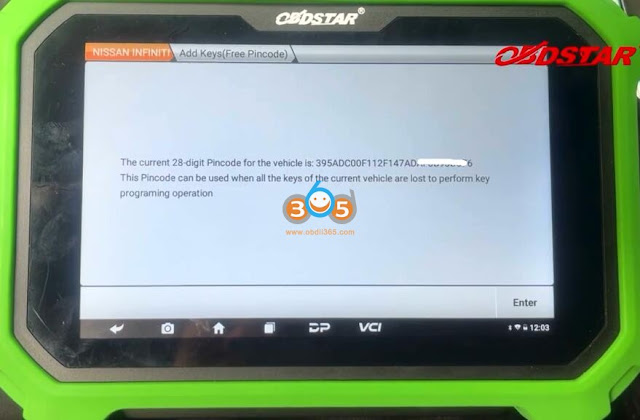
Calculate 28-digit pin code successfully

Turn on emergency flashers, turn off the ignition
Then switch on the ignition.

Long press the Start button to turn off the ignition switch

Turn on the emergency indicators

The gear position is in P gear or neutral gear.

The steering column lock is in the unlocked state.

program Nissan Sylphy Sentra key by OBDSTAR 15

Start to read the key ID

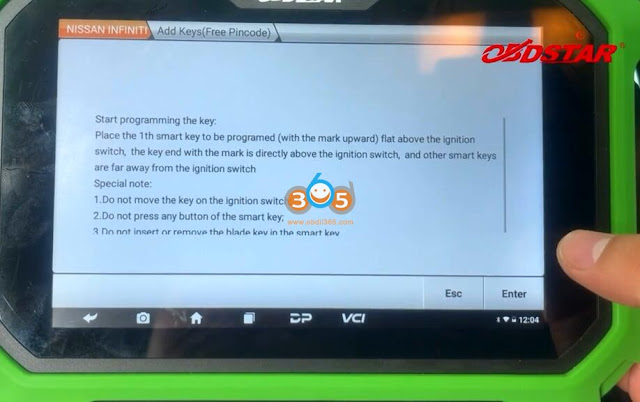
Place the 1st smart key to be programmed above the ignition switch. Take other smart keys far away from the ignition switch.

program Nissan Sylphy Sentra key by OBDSTAR 16

program Nissan Sylphy Sentra key by OBDSTAR 17

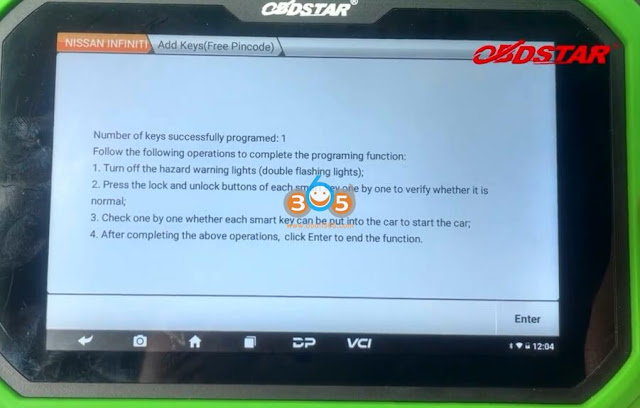
Read key info. There is 1 existing key.

program Nissan Sylphy Sentra key by OBDSTAR 18

Start programming key

program Nissan Sylphy Sentra key by OBDSTAR 19

program Nissan Sylphy Sentra key by OBDSTAR 20

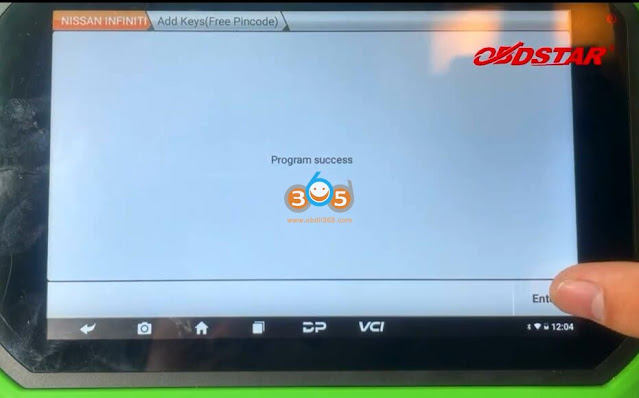
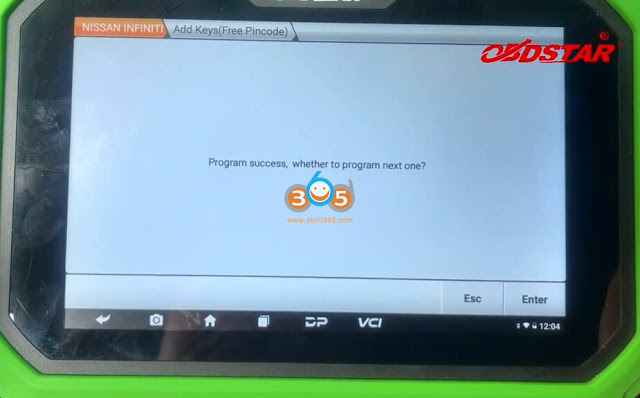
Program success

Follow operations to complete programming function.

Turn off the emergency indicators

Press the lock and unlock buttons of each smart key one by one to verify whether it is normal

program Nissan Sylphy Sentra key by OBDSTAR 21

program Nissan Sylphy Sentra key by OBDSTAR 22

After all keys have been verified, remove gateway adapter and restore gateway module.

program Nissan Sylphy Sentra key by OBDSTAR 23

program Nissan Sylphy Sentra key by OBDSTAR 24

Done.

http://www.key-programmer.org/2023/05/19/program-2019-nissan-sylphy-proximity-with-obdstar-x300-dp-plus/

2023/05/17

OBDSTAR DC706 Read and Write Fiat IAW 10GF ECU

 In the previous post, we pointed out that OBDSTAR DC706 is a good tool to clone 7GF/8GF/9GF/9GV/10GF ECUs. Here is another example of cloning Fiat IAW 10GF on bench.

OBDSTAR DC706 Read and Write Fiat IAW 10GF ECU 1

IAW 10GF Fiat ECU


Device used:

OBDSTAR DC706 full ECU/TCU cloning tool

OBDSTAR P003 bench adapter

Stable network connection.

An Original ECU

A Replacement ECU

OBDSTAR DC706 Read and Write Fiat IAW 10GF ECU 2

Procedure:

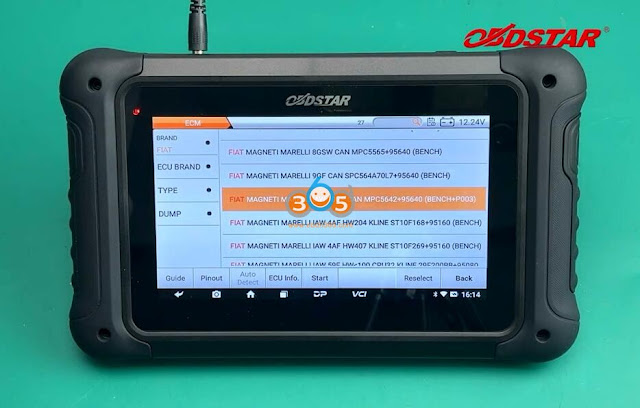
In DC706 select ECM Flasher->ECM->latest ECM software version-> Fiat->Fiat Magneti Marelli IAQ 10GF CAN MPC5643+95640 (Bench+ P003)

OBDSTAR DC706 Read and Write Fiat IAW 10GF ECU 3

OBDSTAR DC706 Read and Write Fiat IAW 10GF ECU 4

OBDSTAR DC706 Read and Write Fiat IAW 10GF ECU 5

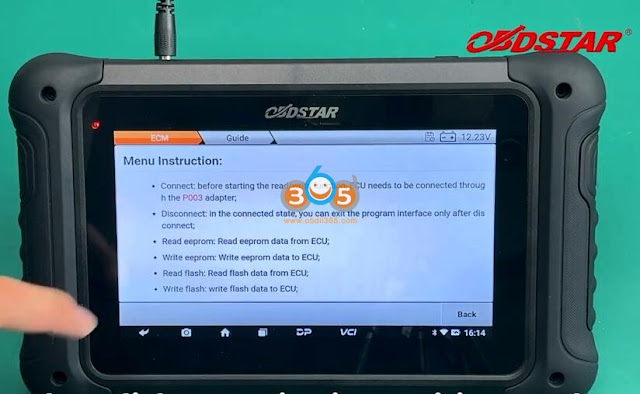
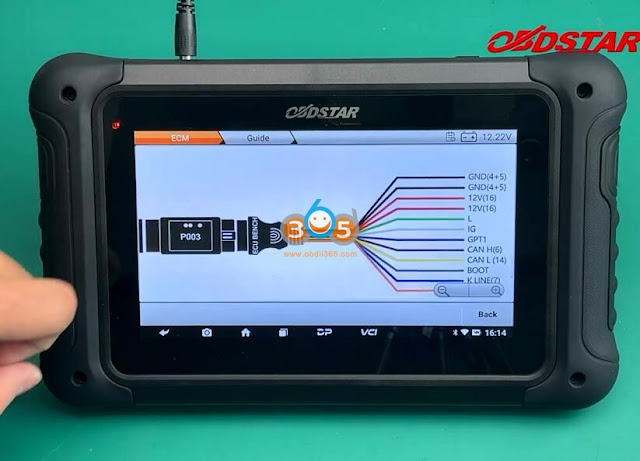
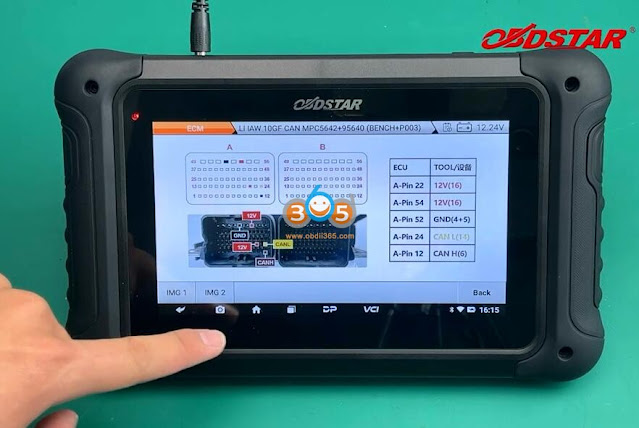
DC706 will show you instructions and wiring diagram

OBDSTAR DC706 Read and Write Fiat IAW 10GF ECU 6

OBDSTAR DC706 Read and Write Fiat IAW 10GF ECU 7

OBDSTAR DC706 Read and Write Fiat IAW 10GF ECU 8

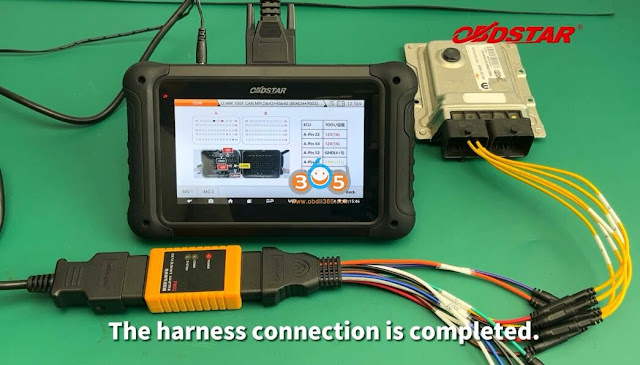
Follow the wiring diagram to connect ECU with DC706 and P003 adapter

OBDSTAR DC706 Read and Write Fiat IAW 10GF ECU 9

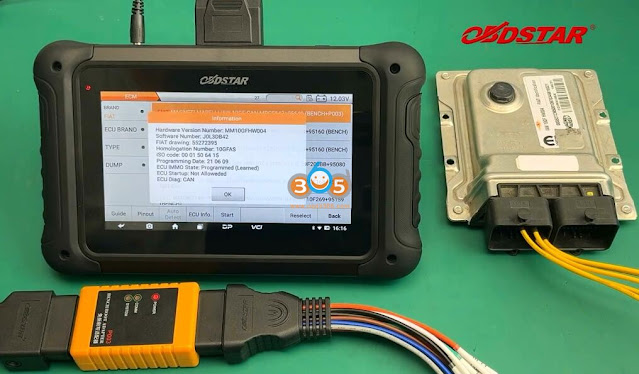
Press “ECU Info.” to Read and confirm ECU information

OBDSTAR DC706 Read and Write Fiat IAW 10GF ECU 10

Make sure P003 adapter is connected. This function requires network connection.

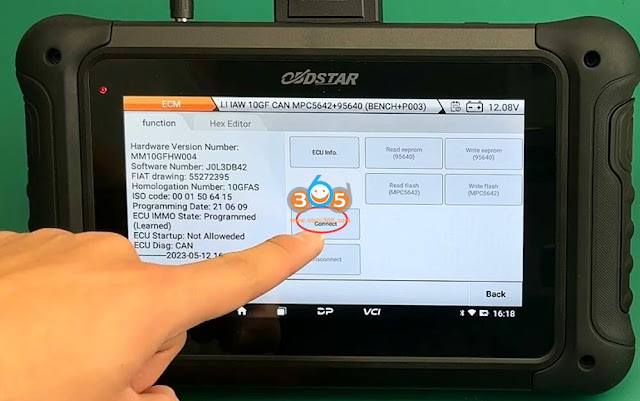
Connect and identify ECU information

OBDSTAR DC706 Read and Write Fiat IAW 10GF ECU 11

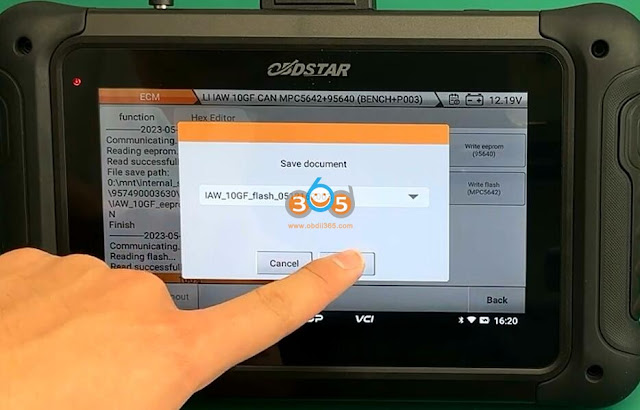
Read and save eeprom 95640

OBDSTAR DC706 Read and Write Fiat IAW 10GF ECU 12

OBDSTAR DC706 Read and Write Fiat IAW 10GF ECU 13

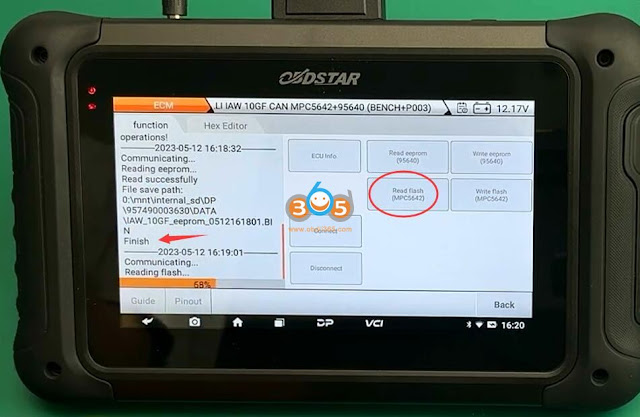
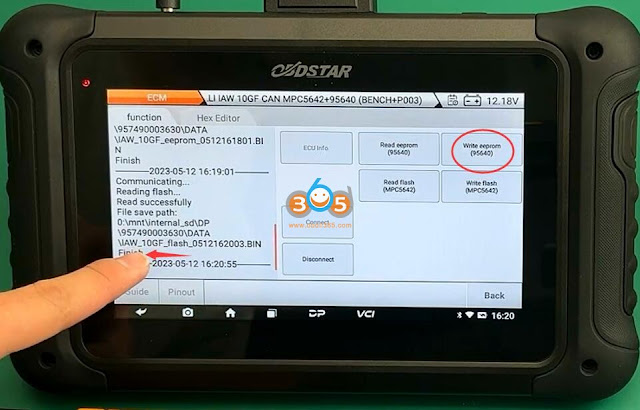
Read and save Pflash MPC5642

OBDSTAR DC706 Read and Write Fiat IAW 10GF ECU 14

OBDSTAR DC706 Read and Write Fiat IAW 10GF ECU 15

Connect new replacement ECU 10GF IAW with DC706 and P003 adapter
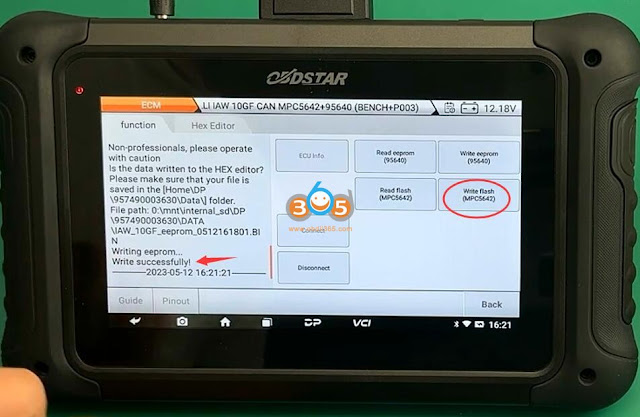
Write EEPROM

OBDSTAR DC706 Read and Write Fiat IAW 10GF ECU 16

OBDSTAR DC706 Read and Write Fiat IAW 10GF ECU 17

OBDSTAR DC706 Read and Write Fiat IAW 10GF ECU 18

Write successfully.
Write Flash

OBDSTAR DC706 Read and Write Fiat IAW 10GF ECU 19

OBDSTAR DC706 Read and Write Fiat IAW 10GF ECU 20

OBDSTAR DC706 Read and Write Fiat IAW 10GF ECU 21

Write flash data successfully.

Before quite operation, press “Disconnect” button.
http://blog.obdii365.com/2023/05/17/obdstar-dc706-clone-fiat-iaw-10gf-ecu-on-bench/