2025/10/26

OBDSTAR G3 Add Seat Leon 2015 MQB Key

 We will demonstrate the process of adding a new aftermarket key to a 2015 SEAT Leon built on Volkswagen’s MQB platform using OBDSTAR X300 Classic G3.


The process for adding a key to this generation of MQB vehicles (VDO cluster) without disassembling the dashboard involves two main steps:

Reading Immobilizer Data (Immo Data): Read the vehicle’s immobilizer data from the instrument cluster. This data is essential for preparing the new key.

Preparing and Programming the Key: generate dealer key and learn key.


Tools used:

OBDSTAR X300 Classic G3
Xhorse Dolphin XP-005L
MQB non-keyless key blank


Procedure:

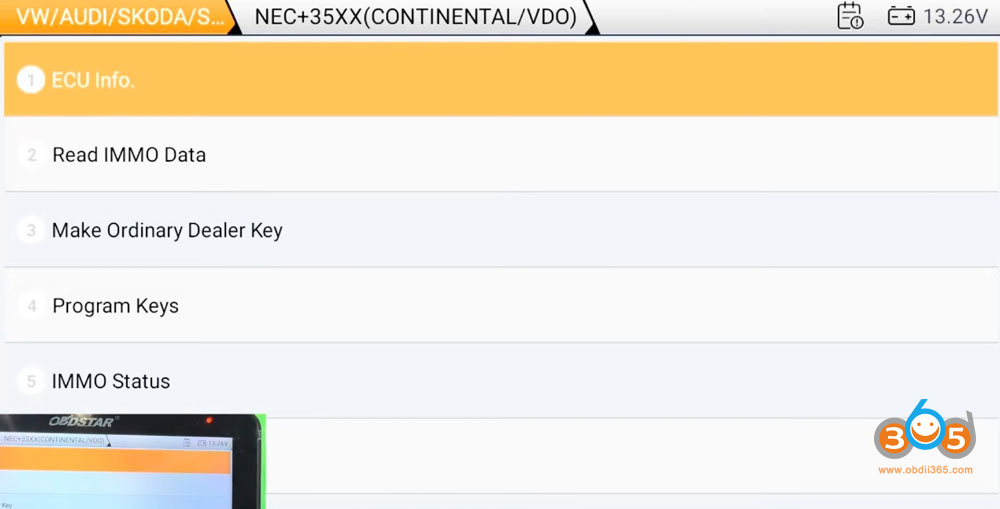
Select VW/Audi/Skoda/Seat- Seat- Leon- 2013 up- MQB dashboard- NEC35XX Continental/VDO
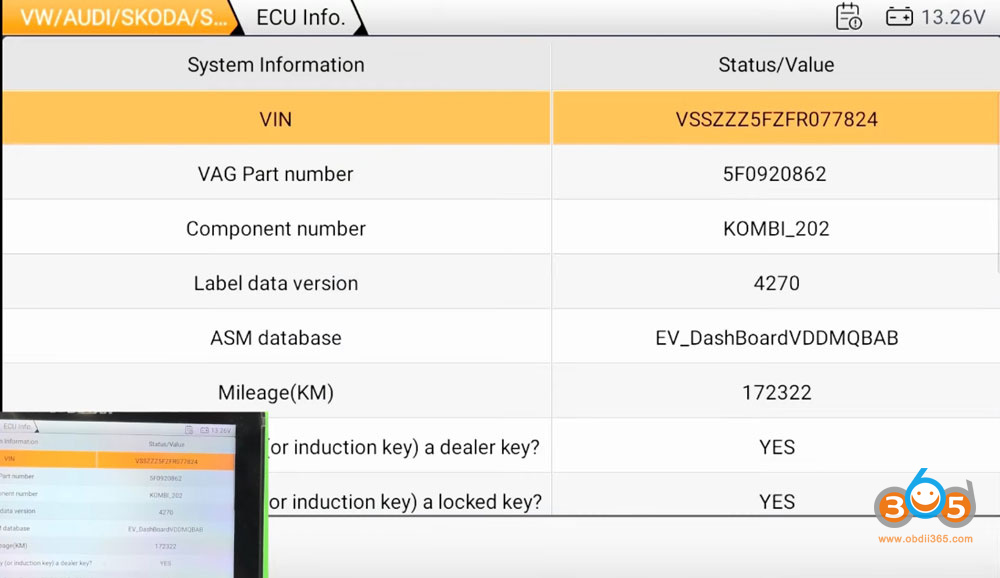
OBDSTAR G3 Add Seat Leon 2015 MQB Key 1

OBDSTAR G3 Add Seat Leon 2015 MQB Key 2

OBDSTAR G3 Add Seat Leon 2015 MQB Key 3

OBDSTAR G3 Add Seat Leon 2015 MQB Key 4

Read ECU info.

OBDSTAR G3 Add Seat Leon 2015 MQB Key 5

OBDSTAR G3 will read vehicle and key information.
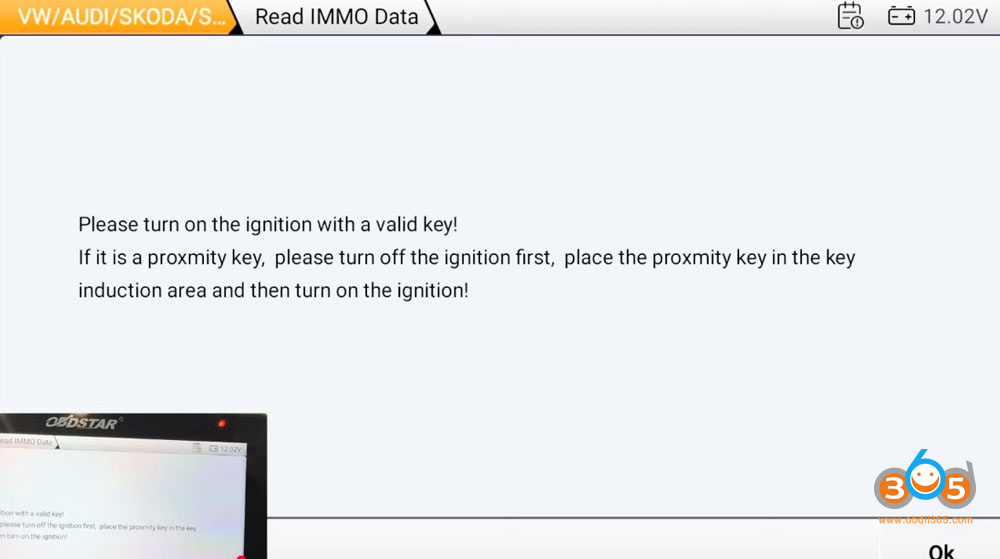
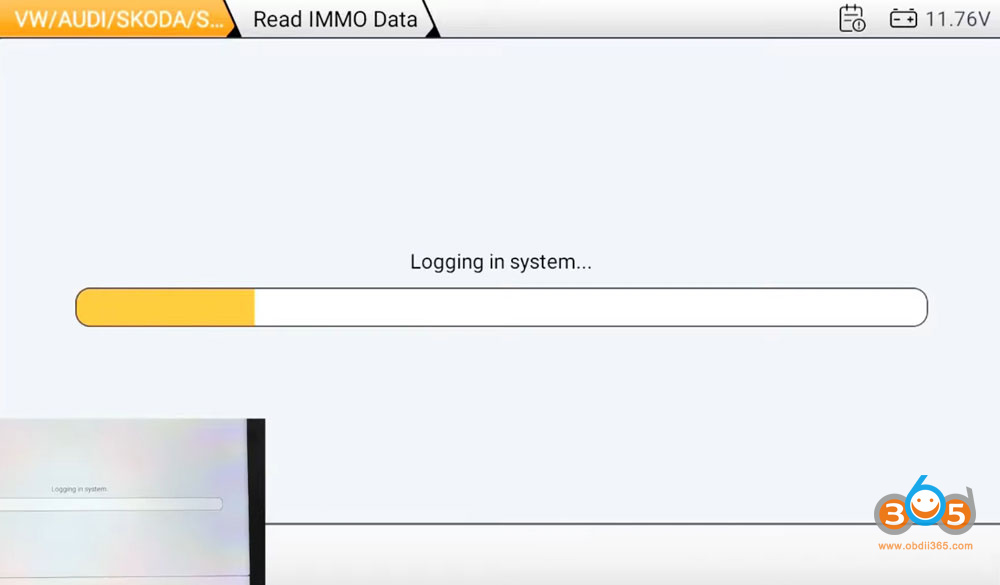
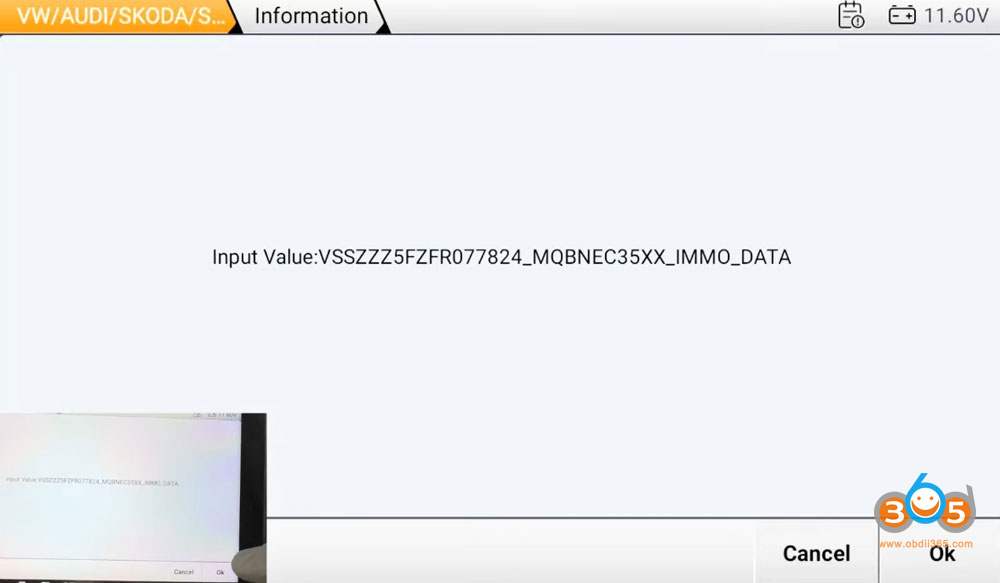
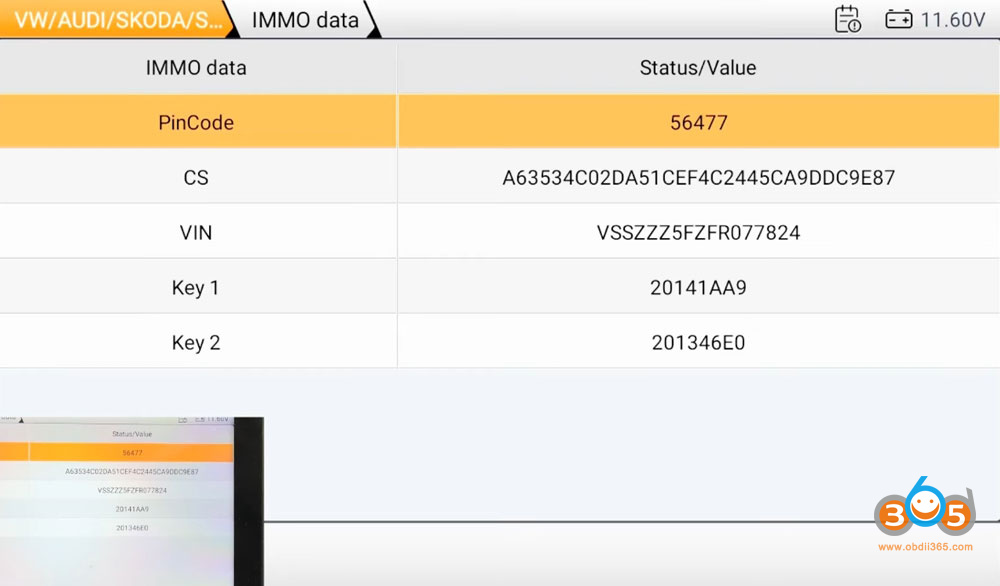
OBDSTAR G3 Add Seat Leon 2015 MQB Key 6

OBDSTAR G3 Add Seat Leon 2015 MQB Key 7

Read IMMO data.

Turn on the ignition with a valid key.

OBDSTAR G3 Add Seat Leon 2015 MQB Key 8

OBDSTAR G3 Add Seat Leon 2015 MQB Key 9

OBDSTAR G3 Add Seat Leon 2015 MQB Key 10

Read IMMO data successfully. OBDSTAR G3 will display CS, VIN and pin code.

OBDSTAR G3 Add Seat Leon 2015 MQB Key 11

Select Make dealer key function.

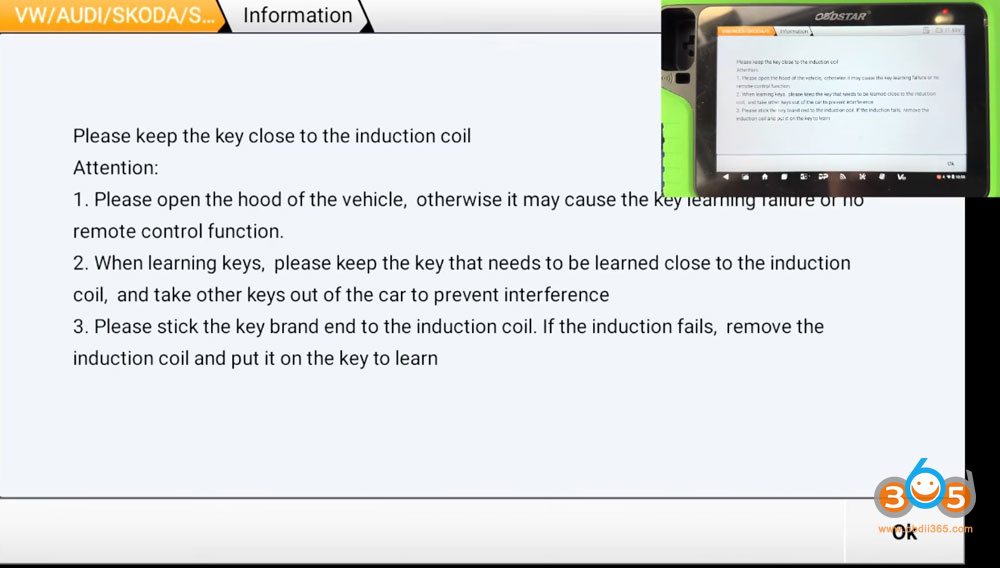
Place the original key into the key sensing coil.

Then place a new key to the key sensing coil to make dealer key.
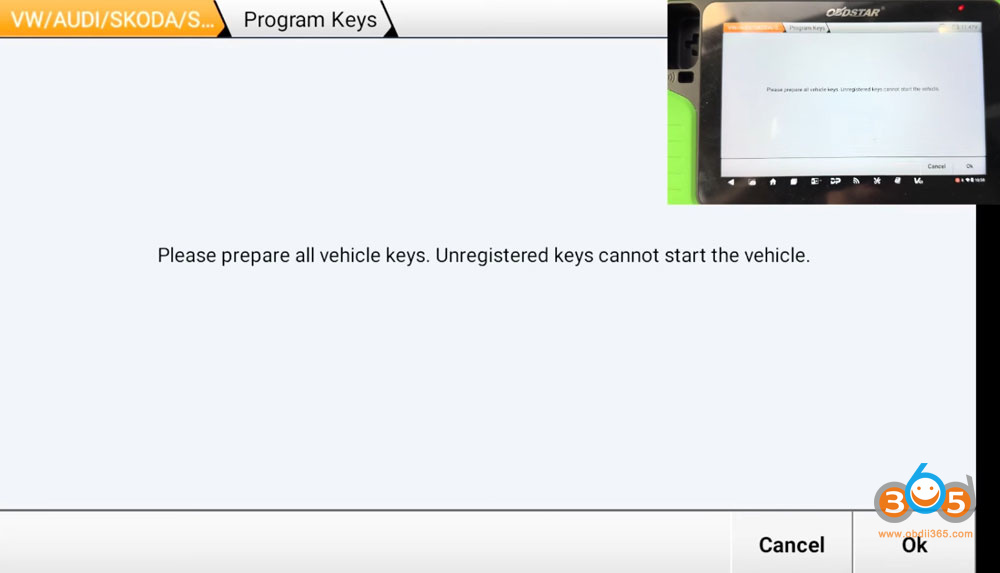
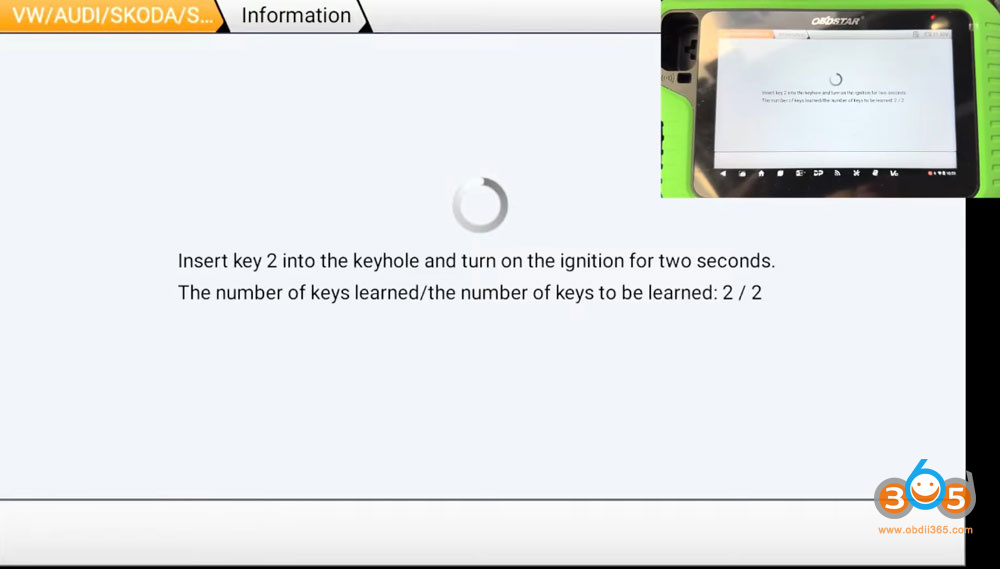
OBDSTAR G3 Add Seat Leon 2015 MQB Key 12

OBDSTAR G3 Add Seat Leon 2015 MQB Key 13

Learn key.

Follow the system prompts to learn all keys to car.

OBDSTAR G3 Add Seat Leon 2015 MQB Key 14

OBDSTAR G3 Add Seat Leon 2015 MQB Key 15

OBDSTAR G3 Add Seat Leon 2015 MQB Key 16

Done.

2025/10/24

Activate 2019 KTM 1290 Cruise Control with OBDSTAR MotoMaster

How to Activate 2019 KTM 1290 Super Adventure S Cruise Control with OBDSTAR MotoMaster or MS80?

Preparation: MOTOMASTER, M001A, M019.

Detail Steps:

Select MOTO Diag--KTM--Latest Version to enter Diagnosis-By model

Activate 2019 KTM 1290 Cruise Control with OBDSTAR MotoMaster 1

Activate 2019 KTM 1290 Cruise Control with OBDSTAR MotoMaster 2

Activate 2019 KTM 1290 Cruise Control with OBDSTAR MotoMaster 3

Sequentially select 1 >1290 > 1290 SUPER ADVENTURE S >Motorcycle (Road)1(2017-2020)

Activate 2019 KTM 1290 Cruise Control with OBDSTAR MotoMaster 4

Click Manual selection

Activate 2019 KTM 1290 Cruise Control with OBDSTAR MotoMaster 5

Click ENG,then click Enter.

Activate 2019 KTM 1290 Cruise Control with OBDSTAR MotoMaster 6

Activate 2019 KTM 1290 Cruise Control with OBDSTAR MotoMaster 7

Click Special Function, follow the prompts, enter the password 123, Click OK.

Activate 2019 KTM 1290 Cruise Control with OBDSTAR MotoMaster 8

Activate 2019 KTM 1290 Cruise Control with OBDSTAR MotoMaster 9

Activate 2019 KTM 1290 Cruise Control with OBDSTAR MotoMaster 10

Click ECM reset (Mode 1).

Activate 2019 KTM 1290 Cruise Control with OBDSTAR MotoMaster 11

Click OK.

Activate 2019 KTM 1290 Cruise Control with OBDSTAR MotoMaster 12

Activate 2019 KTM 1290 Cruise Control with OBDSTAR MotoMaster 13

Activate 2019 KTM 1290 Cruise Control with OBDSTAR MotoMaster 14

Operation completed. If the cruise control indicator light on the vehicle instrument panel starts to flash, please perform the following activation steps: 

Method for Activating the Cruise Control Function

1) Turn on the vehicle's ignition switch and start the engine ;

2) Observe the cruise control indicator on the instrument cluster. If it is flashing yellow, a learning procedure is required ;

3) Locate the1button on the cruise control lever of the left handle (this button can be toggled in three directions: left, up and down) ;

Activate 2019 KTM 1290 Cruise Control with OBDSTAR MotoMaster 15

4) Press and hold the lever to the left for 3 seconds ;

5) Move the lever to theRES/+position and hold for 3 seconds ;

6) Move the lever to theSET/-position and hold for 3 seconds ;

7) Roll on the throttle grip, then release it ;

8) The cruise control indicator turns off, indicating learning is complete ;

9) Turn off the vehicle's ignition switch.


2025/10/19

OBDSTAR G3 Clone BMW MSV80 DME on Bench

OBDSTAR X300 Classic G3 BMW MSV80 DME cloning review:

I’m so impressed of Obdstar . It was able to bench Msv80 and clone it without any problem (eeprom and flash ) without opening cover or swap component and boot it . Flex magic can’t bench it this way, few tools can do that . It also able to read correctly ISN and and change it .

you can’t expect ton of it , But of what it can do , it is perfect to me . It does some weird ecus that other expensive tools can’t support. I have the full package that comes handy every time and the updates are incredible, they keep working on updates way more than any other tool.

OBDSTAR G3 Clone BMW MSV80 DME on Bench 1

OBDSTAR G3 Clone BMW MSV80 DME on Bench 2

OBDSTAR G3 Clone BMW MSV80 DME on Bench 3


2025/10/13

OBDSTAR P50 Power Button No Response Solution

 Problem:

Failed to turn off OBDSTAR P50 airbag reset device. The power button does not respond. Any idea?

OBDSTAR P50 Power Button No Response 1

OBDSTAR P50 Power Button No Response 2

Solution:

In this case, disassemble the tablet, fix the power button marked red below.

Same goes to Odomaster, iScan series devices. 

OBDSTAR P50 Power Button No Response 3


2025/10/12

OBDSTAR DC706 Replace Screen and Mainboard

 Here is the instruction on how to replace touch screen, display screen and motherboard for OBDSTAR DC706 programmer.


Important:
Do screen and mainboard replacement only when you are told to.
An example scenario is a device that fails to power on (black screen) even full charged.


Guide:

Step 1: Use an electric screwdriver (or screwdriver) to take out the 4 screws fixed on the rubber sleeve.

OBDSTAR DC706 How to Replace Screen and Mainboard 1
Step 2: Take off the left and right rubber sleeves on the host.

OBDSTAR DC706 How to Replace Screen and Mainboard 2
Step 3: Use an electric screwdriver (or screwdriver) to take out the 4 screws fixed on the shell.

OBDSTAR DC706 How to Replace Screen and Mainboard 3
Step 4: Pull out the two wiring ports pointed by the arrows.

OBDSTAR DC706 How to Replace Screen and Mainboard 4

Step 5: Use an electric screwdriver (or screwdriver) to take out the screws fixed on the motherboard, and tear off the acetate cloth that fixes the cable interface.

OBDSTAR DC706 How to Replace Screen and Mainboard 5
Step 6: First tear off the cable attached to the display screen indicated by the arrow, and remove the WIFI antenna;

OBDSTAR DC706 How to Replace Screen and Mainboard 6

Step 7: Assemble the new touch screen (the touch screen and the upper case have been assembled) and the display screen as shown in the figure below.

OBDSTAR DC706 How to Replace Screen and Mainboard 7

Step 8: Align the motherboard with the card position on the shell and install it flat, then install the cable and WIFI antenna in the red frame, paste the acetate cloth to fix it, and finally fix the motherboard on the shell with screws.

OBDSTAR DC706 How to Replace Screen and Mainboard 8
OBDSTAR DC706 How to Replace Screen and Mainboard 9
Step 9: Insert the power cord and speaker wire on the back shell to the motherboard (the position indicated by the arrow), and combine the back shell with the front shell.

OBDSTAR DC706 How to Replace Screen and Mainboard 10

Step 10: Fix the screw at the position indicated.

OBDSTAR DC706 How to Replace Screen and Mainboard 11

Step 11: Put the left and right adhesives on the host, and install the fixing screws.

OBDSTAR DC706 How to Replace Screen and Mainboard 12
Note:
1. If you cannot boot or have other abnormalities after replacing the Android motherboard, please contact after-sales. You need to provide your device serial number.
2. If the display is abnormal after replacing the display screen, please contact after-sales and provide your device serial number.
3. When you need to replace the VCI motherboard, please contact the dealer to synchronize your account information and provide the serial numbers of the new and old VCI motherboards.


https://www.obdii365.com/service/replace-obdstar-dc706-screen-and-mainboard.html

2025/10/10

OBDSTAR G3 Program Mitsubishi Outlander 2022 All Keys Lost

 Mitsubishi Outlander 2022 all keys lost is done by OBDSTAR G3 + C4-06 Adapter.

Remove HFM module, read 28-digit pin code with RH850 C4-06 adapter.

Then generate dealer key and learn key with G3.

OBDSTAR G3 Program Mitsubishi Outlander 2022 All Keys Lost 1

OBDSTAR G3 Program Mitsubishi Outlander 2022 All Keys Lost 2

OBDSTAR G3 Program Mitsubishi Outlander 2022 All Keys Lost 3

OBDSTAR G3 Program Mitsubishi Outlander 2022 All Keys Lost 4

For the detailed procedure, check here

OBDSTAR G3 Read 2021- Mitsubishi Outlander HFM Pin Code with RH850 Adapter