How-to: step-by-step bench IMMO OFF for Toyota Gen3 Denso ECU using OBDSTAR X300 Classic G3 with ECU license.
Model Example: Toyota Camry 2022
Procedure:
1. Determine the ECU Generation & Chip
The process changes depending on your Camry’s model year:
Older Camrys (Denso/Delphi): Handled via standard EEPROM reading.
Modern Camrys (Gen 3 / Gen 4 systems) usually feature Toyota Gen 3 ECUs with R7F701216 processors or Denso Gen 4 processors.
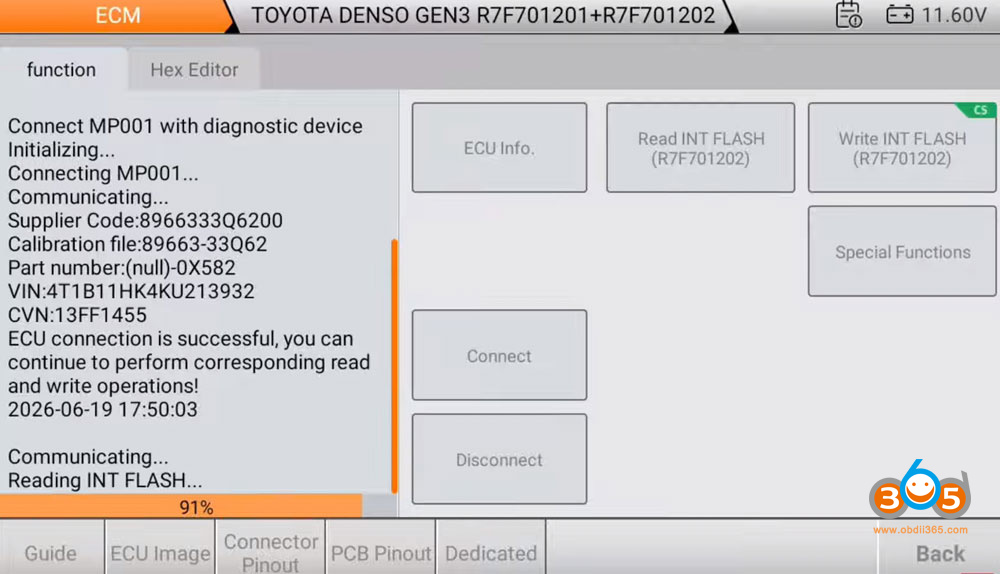
2. Read and Backup original ECU Data
Connect your OBDSTAR G3 to the internet and ensure it is updated to the latest software version.
Power on the tablet and select ECU Advanced (or ECU Flasher / Clone depending on your license activation).
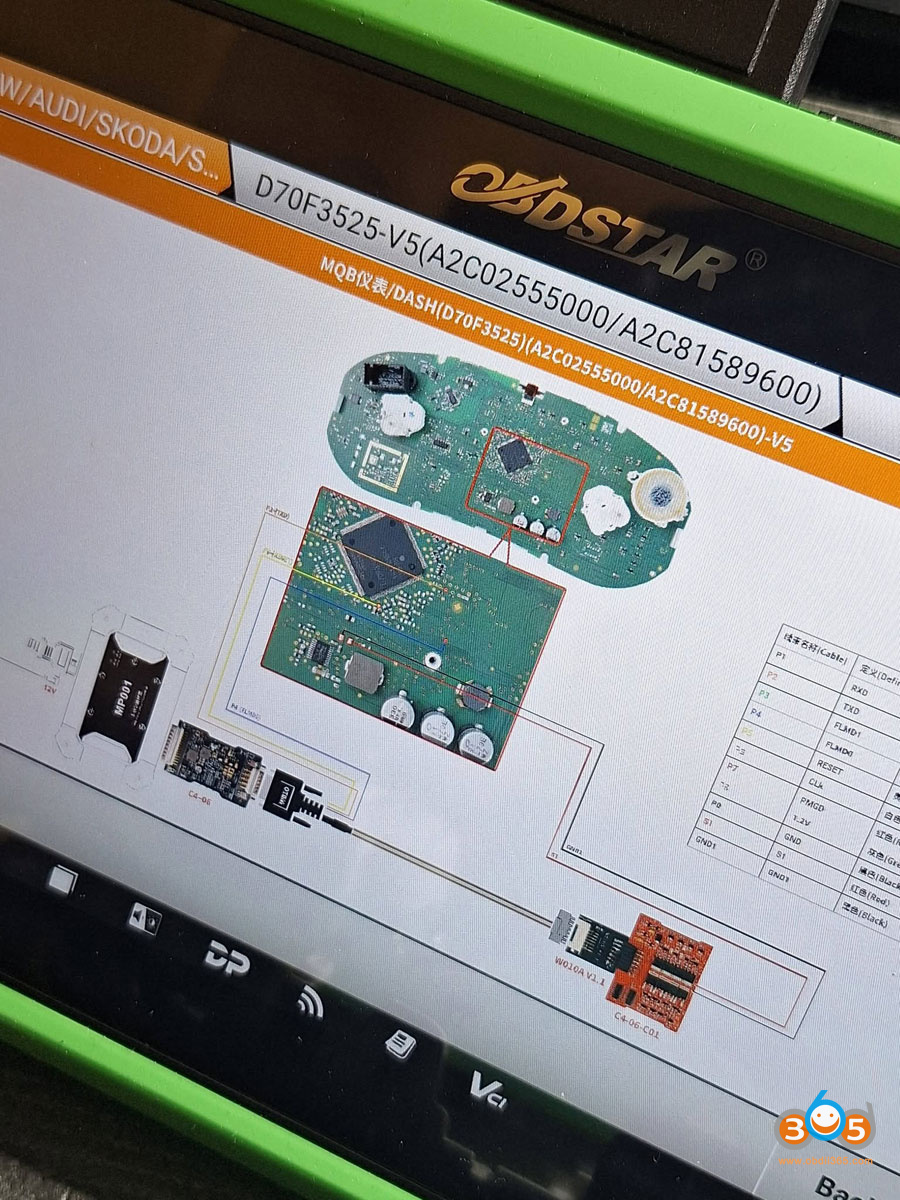
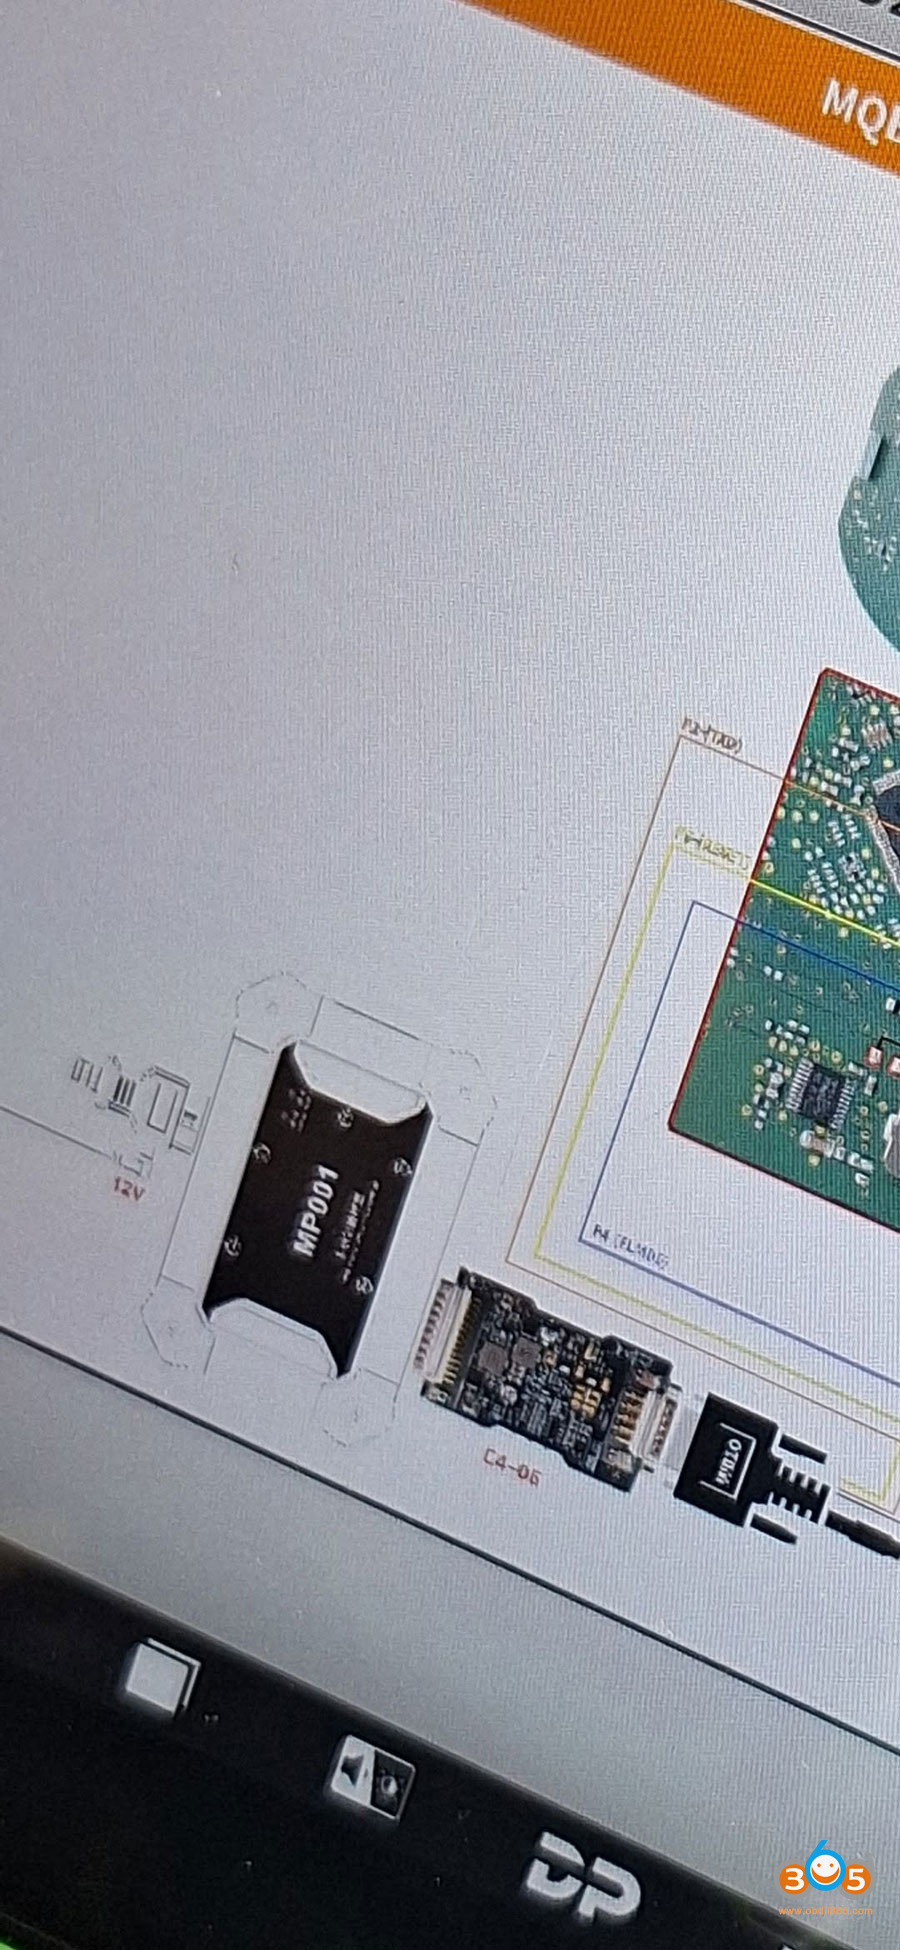
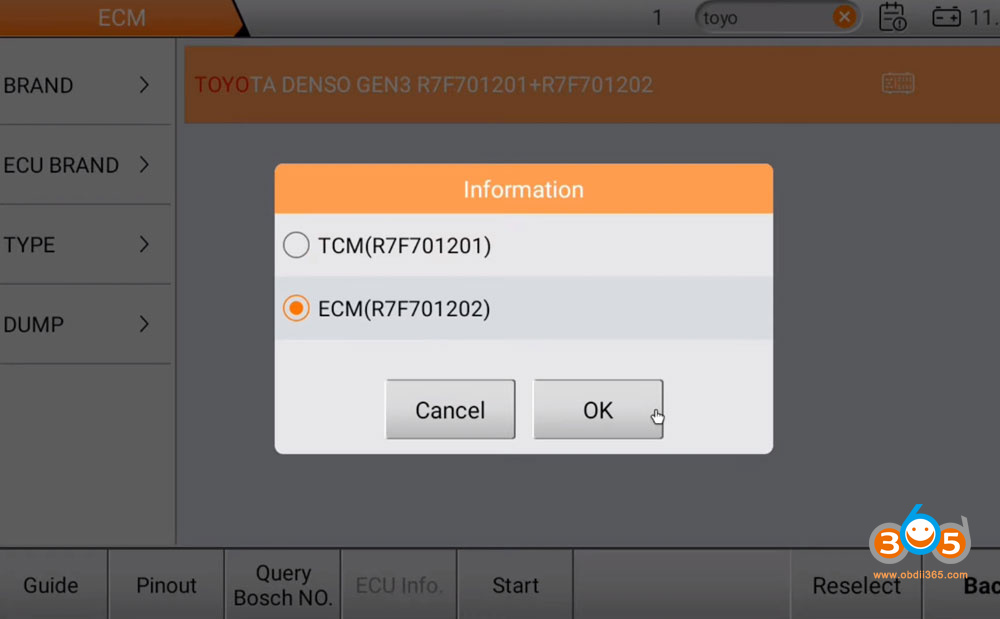
Select ECM – TOYOTA – Toyota Denso Gen3 ECM R7F701202- Bench Mode with MP001.

Click on Pinout / Wiring Diagram. Follow the precise on-screen schematic to hook up the 12V, GND, CAN-H, CAN-L, and ignition wires from MP001 adapter to the ECU pins.
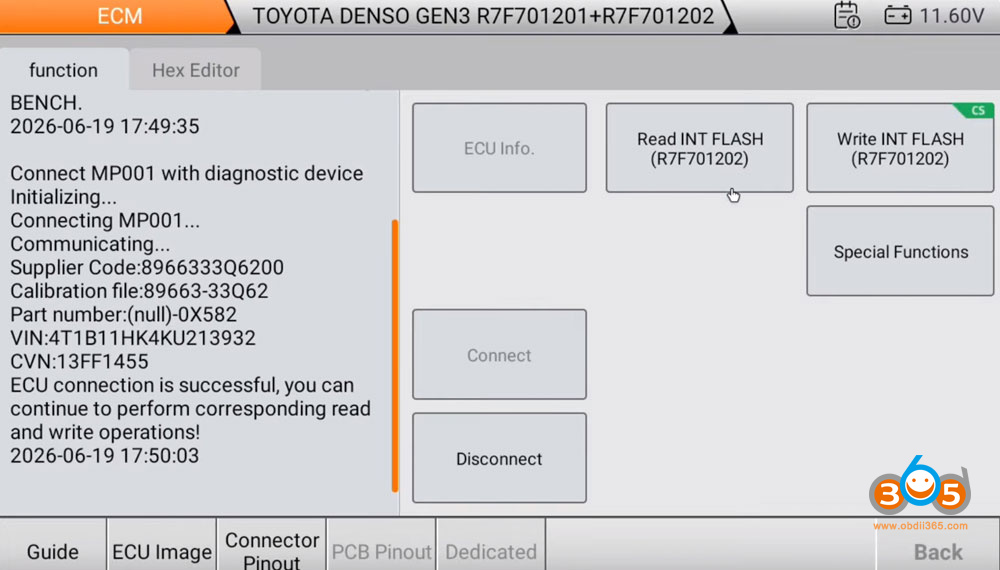
Click Connect on the G3 screen to establish communication.
Click Read INT Flash (and Read INT EEPROM / DFlash if available).
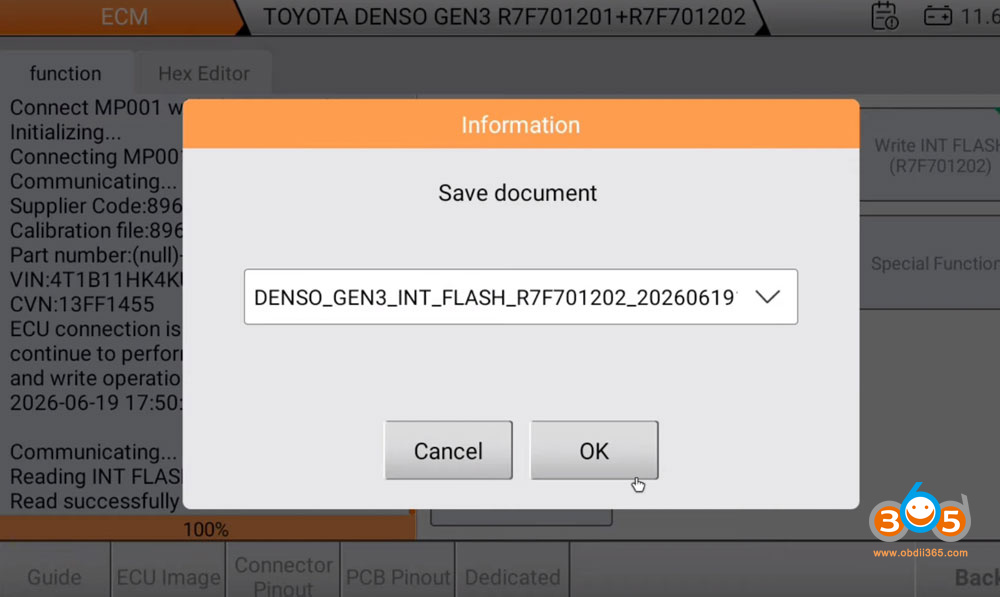
Crucial: Save these original backup files safely to your tablet.


3. Apply the IMMO OFF Modification
Once backup files are securely stored, locate the IMMO OFF function menu under the Special Function options for your specified controller.
Select IMMO OFF.
The G3 will prompt you to select the original file you just read from the ECU.
The software will process the file, perform a checksum correction automatically, and generate a modified “Immo Off” bin file.


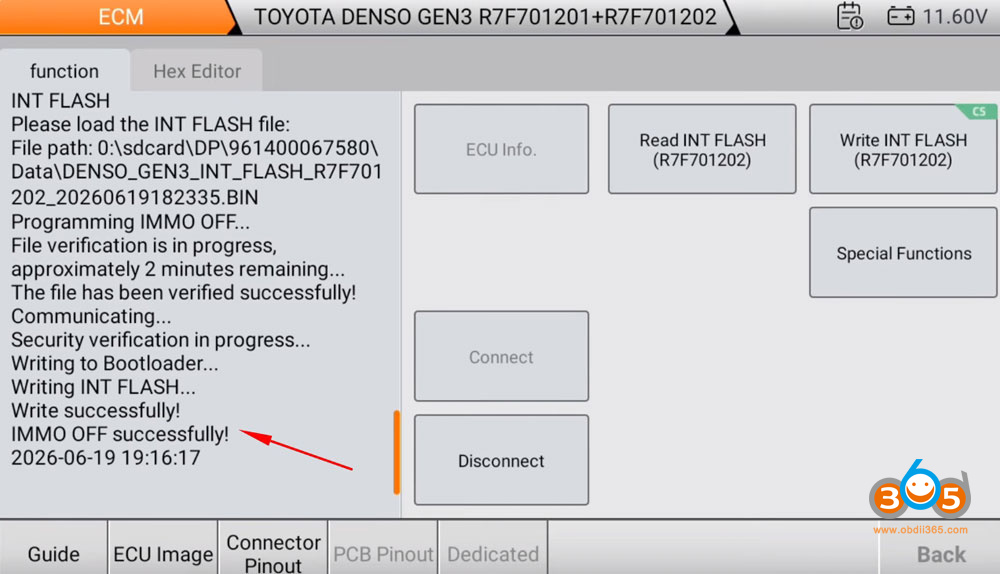
4. Write Data Back to the ECU
Select Write INT Flash (or Write EEPROM depending on the specific model’s IMMO architecture).
Select the modified “Immo Off” file generated in the previous step.
Keep power fully stable while the G3 writes data and verifies the blocks.
Once the application prompts Operation Success, select Disconnect, power down the MP001 adapter, and safely reinstall the ECU back into the Camry.
If your goal is instead just to bypass an All Keys Lost situation rather than deleting the immobilizer completely, you can read the Smart Key Box data via OBD instead.


