2026/09/21

OBDSTAR ECU Master Read and Write Chrysler GPEC3 ECU

In this article, we walk through the process of reading and unlocking a Chrysler Continental GPEC3 ECU using the OBDSTAR ECU Master programmer.

This guide covers boot mode reading, EEPROM and internal flash backup, ECU unlock, VIN writing, and checksum handling.


Previous Tool Attempts

Notably:

DC706 previous Chrysler old sw failed to read it in boot mode

Multiprog also failed to read it in boot mode

The ECU Master is being tried to see if it will work after the update.


Selecting the ECU in the Tool

The selection process:

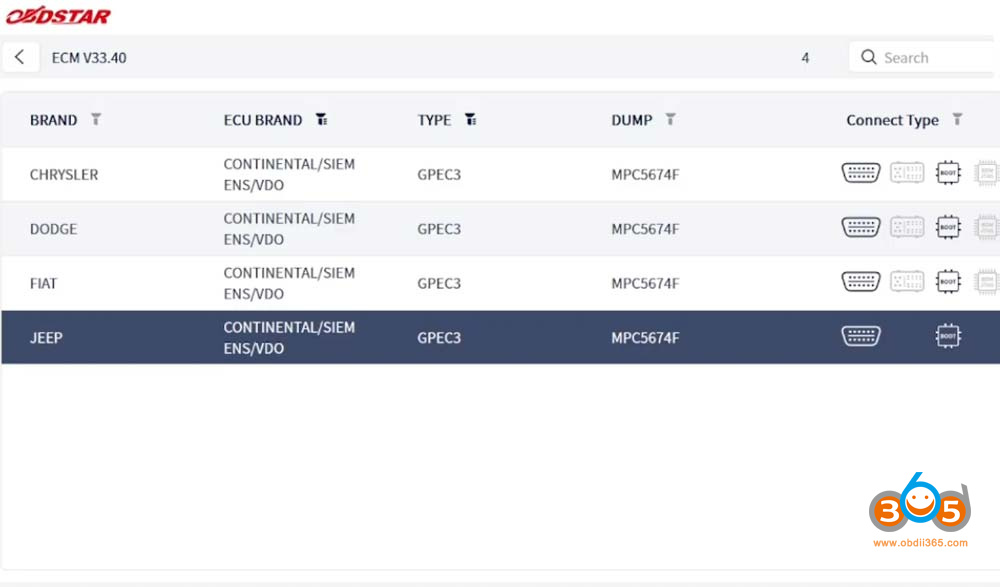
  • Select by brand — Continental
  • Go to type
  • Select GPEC3

There is also a new OBD option available from the recent update, but boot mode is being used for this demonstration.

obdstar ecu master read chrysler gpec3 ecu 1

Boot Mode Setup

For boot mode, the ECU must be opened. The connection requires:

A 120 ohm resistor between CAN L and CAN L.

Once the connections are made:

Select Start.

Select Boot to perform the reading.

obdstar ecu master read chrysler gpec3 ecu 2

obdstar ecu master read chrysler gpec3 ecu 3

Boot Loader and Connection

The tool waits for the boot loader to be written onto the ECU so it can connect. The boot loader begins loading — a good sign that connection will succeed.

The ECU Master connects successfully.


Reading the ECU

With the connection established, all functions are tested:

  • Special functions
  • Read EEPROM
  • Read internal flash


EEPROM Reading

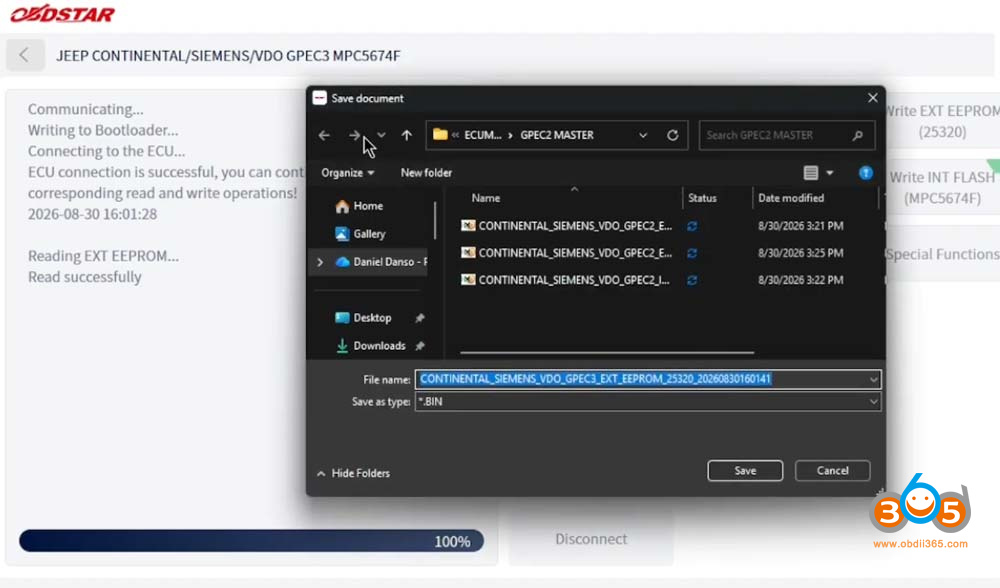
The internal EEPROM is read. This ECU uses an external EEPROM, so it can be opened and cloned by reading the external EEPROM.

Important note: The most important thing is to make sure the map — what is called the internal flash — looks the same, or the vehicle will throw codes that might not otherwise appear. This happens often.

The EEPROM is saved.

obdstar ecu master read chrysler gpec3 ecu 4

Internal Flash Reading

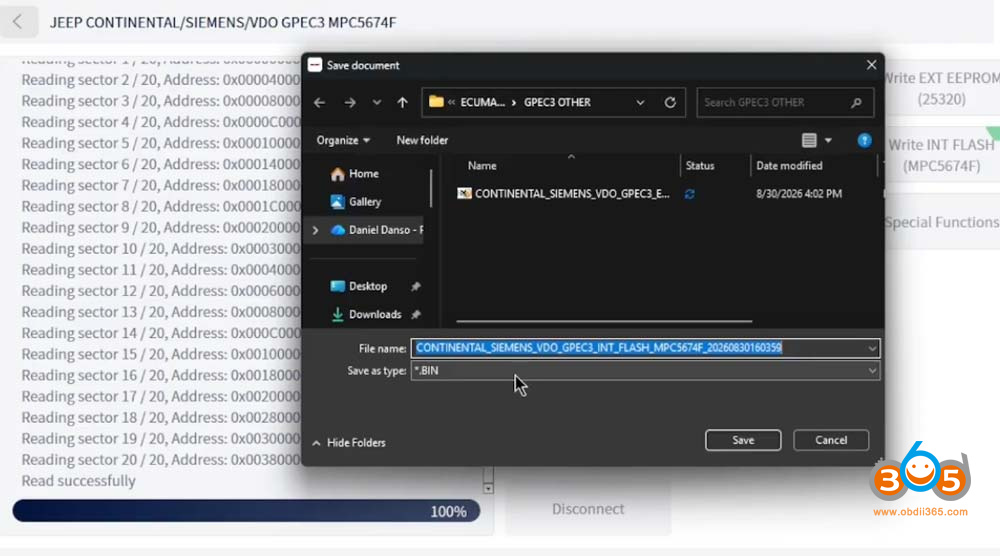
The internal flash is also read. The update appears to have helped. The tool reads all the sectors — approximately 20 sector addresses for the internal flash.

With this capability, one-on-one cloning is possible if the flash is not damaged and the client brings the ECU in. Both the external EEPROM and the internal flash can be read, meaning there may be no need to go online to update it or use another ECU to update the flash itself.

obdstar ecu master read chrysler gpec3 ecu 5

Tuning and VIN Considerations

For this ECU:

If you want to tune it, you must unlock it first before tuning.

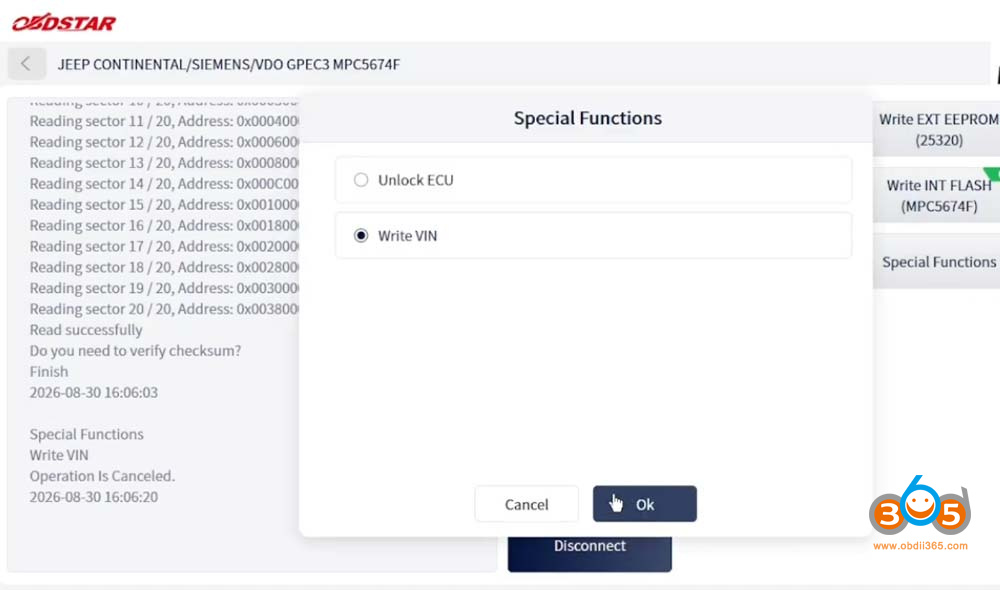
If you want to change the VIN, that can be done in special functions — which the update reportedly added.


Saving the Flash

The flash is saved so that if the client wants it, the file is available. The tool prompts to save.


ECU Unlock

The ECU unlock function is selected. With ECU unlock:

It reads the internal flash

Read and save flash.

It will then write it back onto the ECU.

The unlock completes successfully.

obdstar ecu master read chrysler gpec3 ecu 6

obdstar ecu master read chrysler gpec3 ecu 7

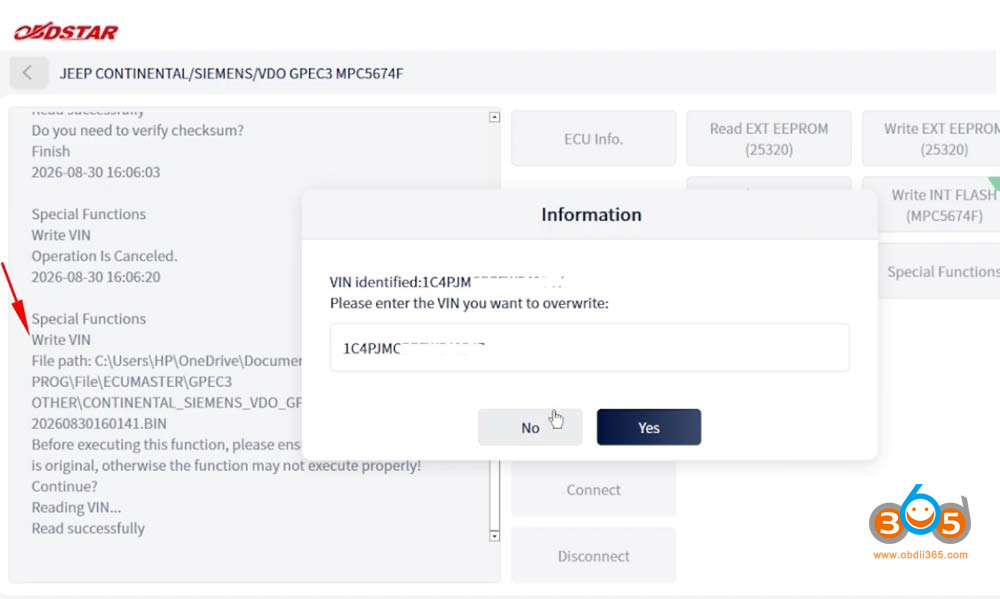
VIN Writing

The VIN function is selected. The tool asks to select the EEPROM because the VIN is normally stored in the EEPROM.

For the GPEC3, there are three locations for the VIN. When changing any number:

The change is made (e.g., changing the last digit to 8)

The tool writes it automatically

To verify:

Read the EEPROM

Save it

Compare it with the edited version

The write can also be done for verification purposes. The original VIN is written back so it can be read in the ECU.

Important: With the VIN, you must select the EEPROM you want to change the VIN in. When the change is done, it writes it back. The tool reads to allocate the VIN numbers.

Note: The ECU Master requires an internet connection — without it, you cannot connect.
Writing the Flash Back

The flash is written back because of the unlocking performed earlier.

obdstar ecu master read chrysler gpec3 ecu 8

obdstar ecu master read chrysler gpec3 ecu 9

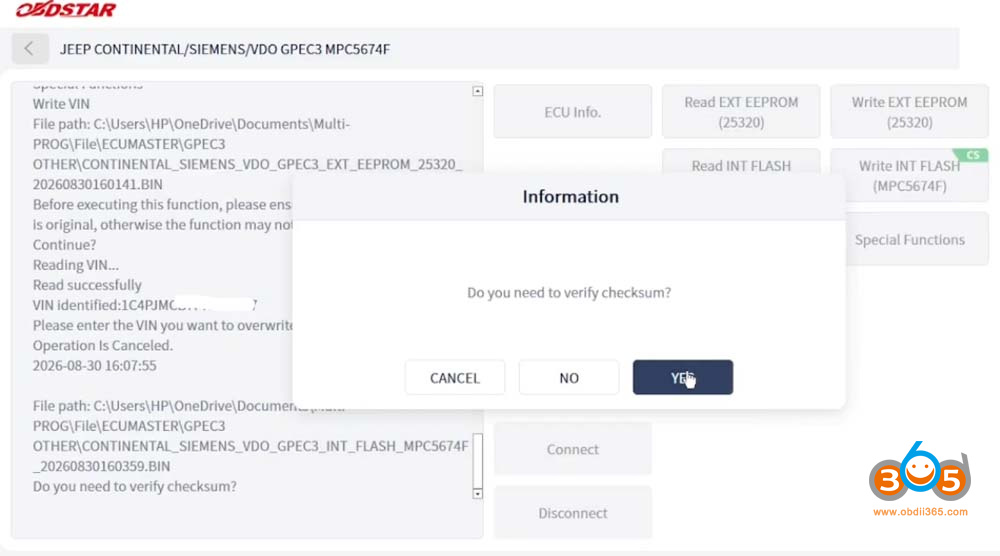
Checksum (CS) Correction

When you see CS in the ECU Master, it means checksum. The tool performs a checksum for you.

It cannot be given a 100% guarantee, but it works mostly on Bosch ECUs and some Continental ECUs

All the AC Delco ECUs it supports also get checksums

This is a Continental ECU, and the checksum is being performed on it.

The checksum takes a long time because it must be uploaded to the server. The server does a lot of work — it checks the file, goes through it, and brings it back for writing. This verifies the file is okay.

Note: Sometimes the checksum can be skipped if you don’t want a long wait, don’t have time, or have made edits that might not pass. However, the checksum is very important because it helps prevent breaking the ECU.


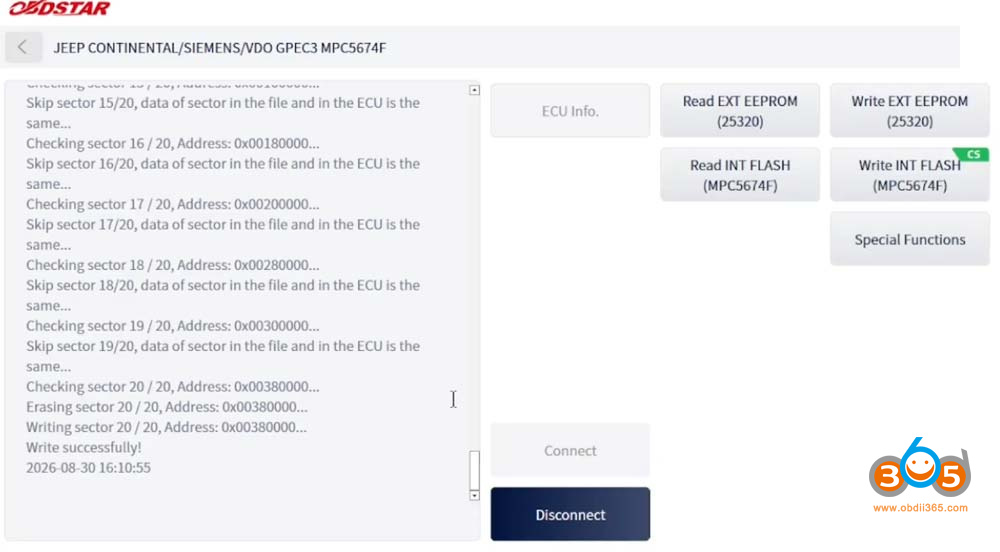
Writing Process

During writing:

Certain sectors are skipped

Only the needed sectors are written

This makes writing faster because skipping sectors avoids delays

The tool erases and writes sector 20 out of 20 addresses.


Sector 20 is written successfully. The tool is disconnected.

obdstar ecu master read chrysler gpec3 ecu 10

obdstar ecu master read chrysler gpec3 ecu 11

Summary

This case demonstrates reading and unlocking a Continental GPEC3 ECU with the OBDSTAR ECU Master. Key takeaways:

  • The ECU Master’s new software matches DC706 functionality, with a recent OBD mode update
  • Boot mode requires a 120 ohm resistor on the CAN line
  • The tool connected successfully where Multiprog failed
  • External EEPROM and internal flash can both be read for one-on-one cloning
  • ECU unlock is required before tuning
  • VIN writing requires selecting the EEPROM (three VIN locations on GPEC3)
  • Checksum (CS) is handled via the server — important for preventing ECU damage
  • An internet connection is required

2026/09/15

Unlock Ford MD1CP006 ECU with OBDSTAR ECU Master

How to unlock 2021+ Ford trucks F-250 F-350 Bosch MD1CP006 locked TC298TP ECU with OBDSTAR ECU Master?


Tools required:
OBDSTAR ECU Master
OBDSTAR C4-06 adapter
Battery maintenance


Mode: Boot

Unlock protected ECUs directly in your workshop.
Read, write and perform a full backup in BOOT mode after the Unlock procedure.

Unlock Ford MD1CP006 ECU with OBDSTAR ECU Master 1

Procedure:
Quick search MD1CP006
Select Boot mode.

Unlock Ford MD1CP006 ECU with OBDSTAR ECU Master 2
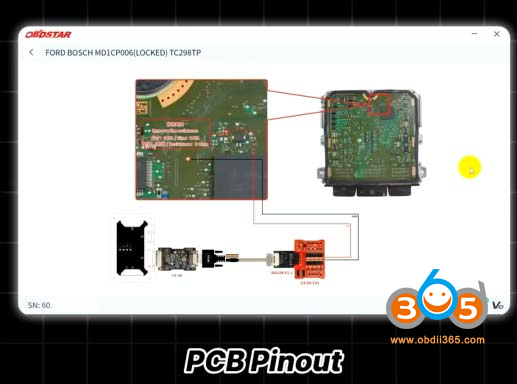
Check instructions, PCB pinout and wiring diagram.

Unlock Ford MD1CP006 ECU with OBDSTAR ECU Master 3

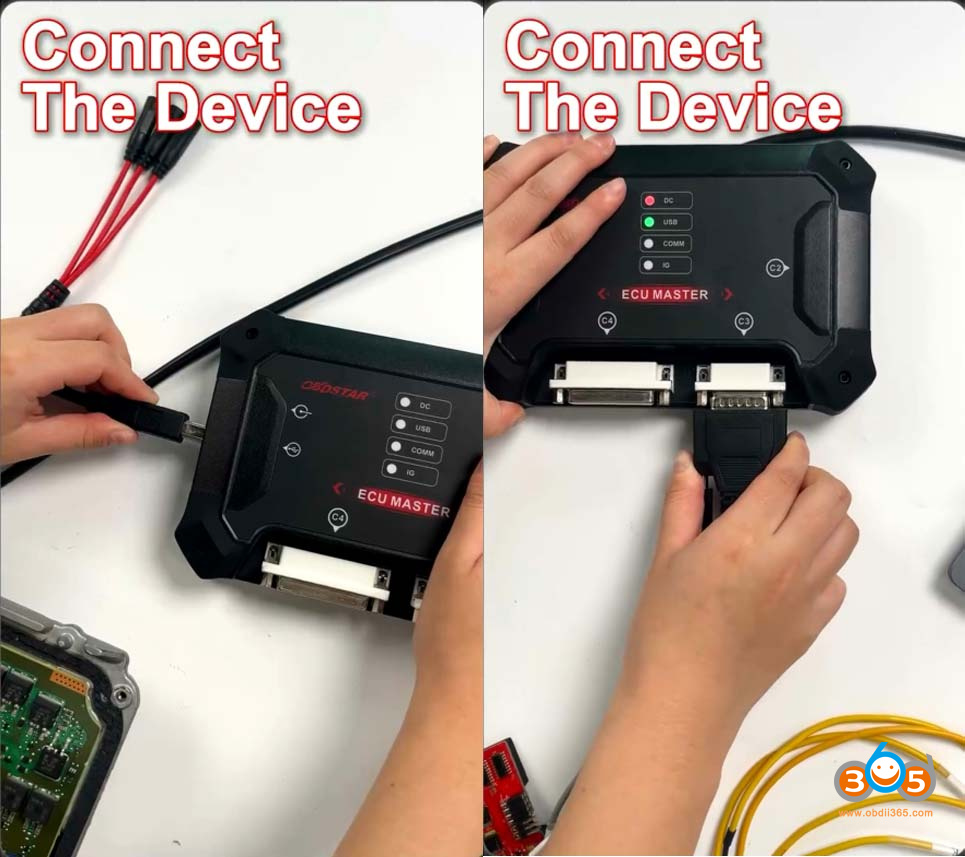
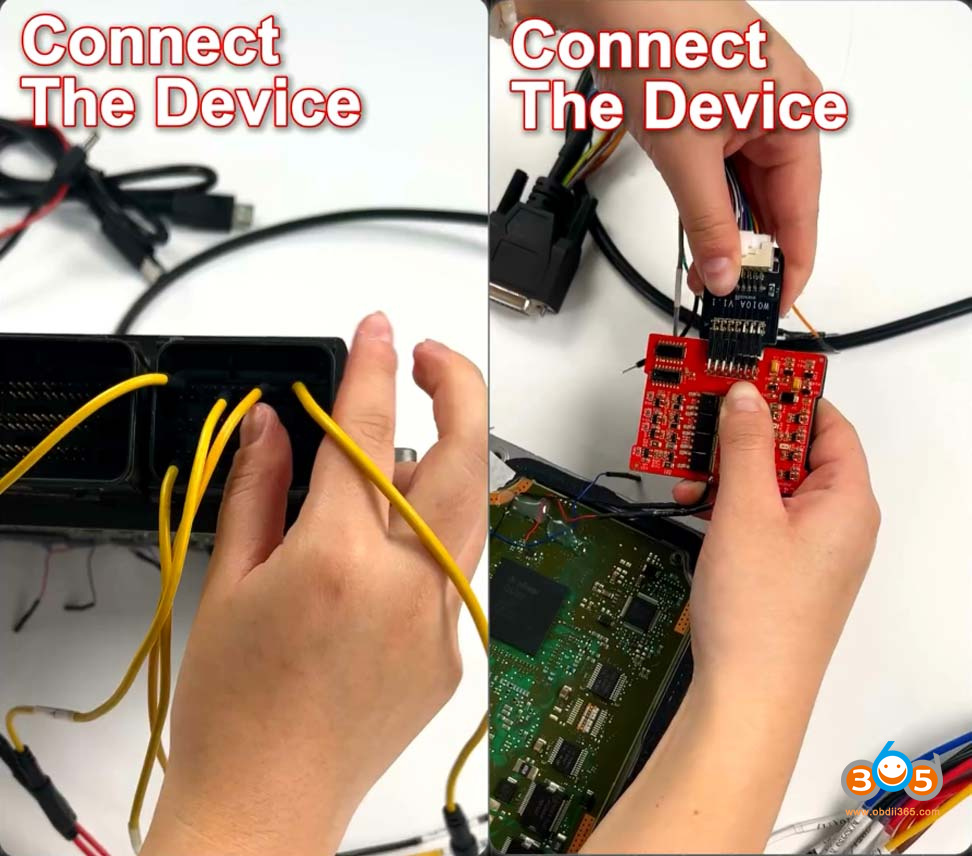
Connect ECU to the ECU Master with a jumper cable and the C4-06 adapter.

Then connect ECU Master to power supply.

Unlock Ford MD1CP006 ECU with OBDSTAR ECU Master 4

Unlock Ford MD1CP006 ECU with OBDSTAR ECU Master 5

Unlock Ford MD1CP006 ECU with OBDSTAR ECU Master 6

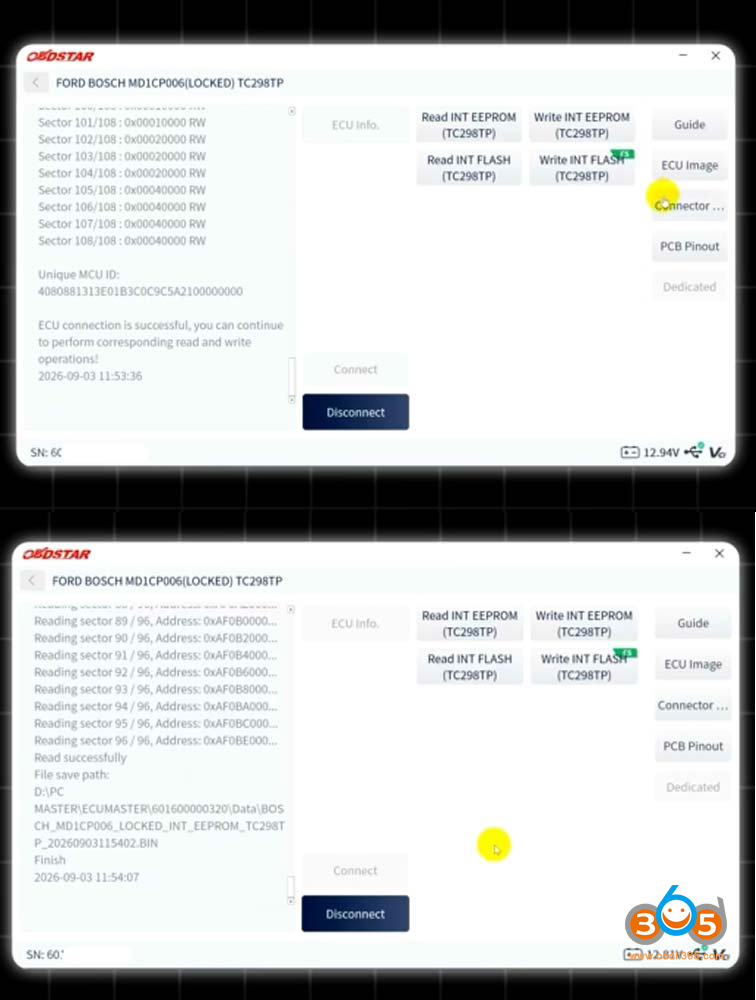
Identify ECU.

Read MCU ID.

Read eeprom.

Unlock Ford MD1CP006 ECU with OBDSTAR ECU Master 7

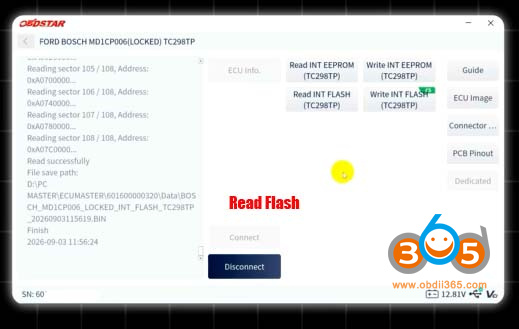
Read flash.

Unlock Ford MD1CP006 ECU with OBDSTAR ECU Master 8

Write eeprom.

Unlock Ford MD1CP006 ECU with OBDSTAR ECU Master 9

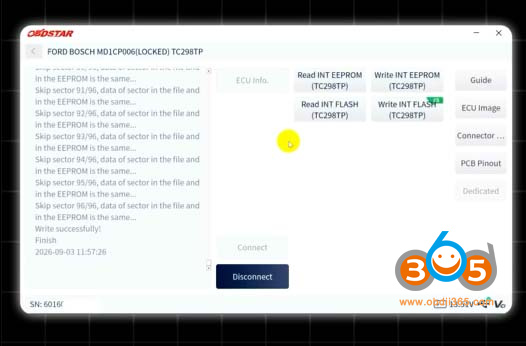
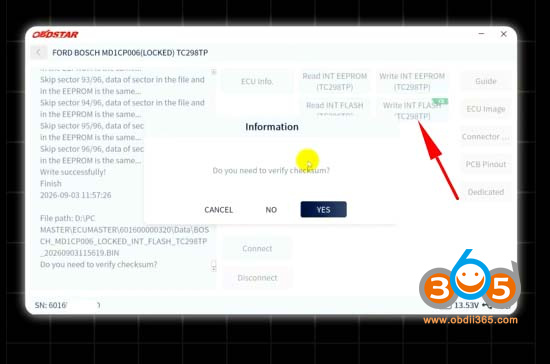
Write flash. Correct checksum by ECU Master.

Unlock Ford MD1CP006 ECU with OBDSTAR ECU Master 10

Unlock Ford MD1CP006 ECU with OBDSTAR ECU Master 11

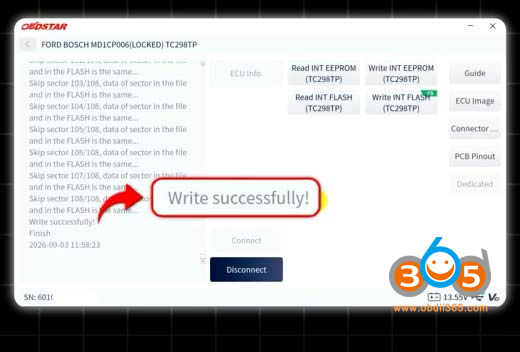
Write ECU successfully.

2026/09/06

OBDSTAR G3 Unlock Citroen 2023 MD1CS003 ECU in Boot

OBDSTAR’s recent big upgrade adds PSA locked MD1CS003 ECU boot glitch unlocking feature.

Here comes a user report:

Just tried one Bosch MD1CS003 from a Citroen Berlingo 2023, worked first try.

It’s done in boot mode. OBDSTAR X300 Classic G3 unlocked in boot glitch mode.

Need to have soldering skills.

Open ECU, remove 1 resistor and solder C4-06 adapter.
Requires G3 with ECU Flasher license activation and connecting MP001 programmer.

DC706 and ECU Master will do the same.

Automatic checksum correction with G3.

Adblue off ok.

OBDSTAR G3 Unlock Citroen 2023 MD1CS003 ECU 1

OBDSTAR G3 Unlock Citroen 2023 MD1CS003 ECU 2

OBDSTAR G3 Unlock Citroen 2023 MD1CS003 ECU 3

OBDSTAR G3 Unlock Citroen 2023 MD1CS003 ECU 4

OBDSTAR G3 Unlock Citroen 2023 MD1CS003 ECU 5

OBDSTAR G3 Unlock Citroen 2023 MD1CS003 ECU 6


2026/09/03

OBDSTAR Update Ducati Motorcycle till 2026

OBDSTAR update Ducati motorcycle till year 2026.

DUCATI

[Version: V33.30]

  1. Supports models up to the 2026 model year.

  2. Add below models:

  • Xdiavel V4 E5+

  • Multistrada V4 Pikes Peak E5+

  • Panigale V4 E5+

  • Panigale V2 E5+

  • Multistrada V4 Rally E5+

  • Multistrada V2 S E5+

  • Hypermotard 698 Mono E5+

  • Streetfighter V4 E5+

  • Multistrada V4 E5+

  • ...

Supported Tools

Supports models up to the 2026 model year.
Add below models: XDiavel V4 E5+, Streetfighter V4 E5+, Streetfighter V2 E5+
Add special function descriptions (usage scenarios and expected results).
Add transport mode enable/disable function for below models: Scrambler E5/E5+
Add below special function for Panigale V4 E5+:DRL On/Off
Add below special functions for XDiavel V4 E5+:
TPMS registration
TPMS code programming
Oil service
Valve check
Annual service
Next oil service reset
Next valve service reset
Next annual service date modification
Current dashboard date modification
Current dashboard time modification

Add below special functions for Streetfighter V4 E5+:
VIN writing
GPS model configuration
TPS adaption reset
GPS coordinate data synchronization
Throttle balance
Debug package enable/disable
Odometer writing (accumulator)
ABS setting in EOL mode
Debug package reset

Add below special functions for Streetfighter V2 E5+:
Fuel level value reset
Battery voltage history display
Version setting in BBS
Key reset
Next service date adjustment
Gear reset
Battery voltage history reset

OBDSTAR Update Ducati Motorcycle till 2026


2026/09/02

How to Set up OBDSTAR Tools for BMW MDG1 Bench Unlocking?


Some customers do not know how to connect/set up the OBDSTAR ECU Master/ X300 Classic G3/ DC706 devices to perform 2020.06- BMW MD1/MG1 ECU bench unlocking.


Here is the clue.


For OBDSTAR ECU Master


Method 1: ECM-003 Bench Connection

Tools used:

obdstar ecu master unlock bmw mdg1 via ecm-003 1

Connection Guide

Connect ECU Master with PC via USB cable.
obdstar ecu master unlock bmw mdg1 via ecm-003 2
Connect Bench DV1 cable to C3 connector of the ECU Master device.
obdstar ecu master unlock bmw mdg1 via ecm-003  3
obdstar ecu master unlock bmw mdg1 via ecm-003  4
Connect the other end of Bench DV1 cable to the ECM003 adapter.
obdstar ecu master unlock bmw mdg1 via ecm-003  5
Connect ECM-003 adapter to the ECU.
obdstar ecu master unlock bmw mdg1 via ecm-003  6
Connect the power supply to the ECU Master.

obdstar ecu master unlock bmw mdg1 via ecm-003  7
Ready to unlock, read and write ECU with ECU Master.
Method 2: Jumper cable connection

Tools used:

  • OBDSTAR ECU Master
  • 3 in 1 jumper cable
  • Bench jumper cable
  • USB cable
  • Power supply

obdstar ecu master unlock bmw mdg1 via jumper 1

Connection Guide
Connect ECU Master with PC via USB cable.
Connect Bench jumper cable to the C3 connector of the ECU Master device.
obdstar ecu master unlock bmw mdg1 via jumper 2
Connect jumper cable to the ECU according to the wiring diagram.
obdstar ecu master unlock bmw mdg1 via jumper 3
Connect power supply to the ECU Master.

obdstar ecu master unlock bmw mdg1 via jumper 4
Ready to unlock, read and write ECU with ECU Master.

For OBDSTAR G3/DC706


G3 and DC706 share the same connection method.


Method 1: Bench adapter connection

Tools used:

  • G3/DC706
  • Main cable
  • MP001 programmer
  • Converter V2 or P004 adapter
  • ECM-003 dedicated bench adapter
  • battery stabilizer

obdstar dc706/g3 unlock bmw mdg1 via ecm-003 1

Connection Guide

Connect G3 or DC706 with MP001 programmer via main cable.
Connect converter V2 or P004 adapter with MP001’s C2 connector.
obdstar dc706/g3 unlock bmw mdg1 via ecm-003 2
Connect ECM-003 adapter with converter V2 or P004 adapter.
obdstar dc706/g3 unlock bmw mdg1 via ecm-003 3
obdstar dc706/g3 unlock bmw mdg1 via ecm-003 4
Connect ECM-003 adapter to the ECU.
obdstar dc706/g3 unlock bmw mdg1 via ecm-003 5
Connect power supply/battery stabilizer to the main cable.

obdstar dc706/g3 unlock bmw mdg1 via ecm-003 6
Ready to unlock ECU on bench mode.
Method 2: Jumper cable connection 

Tools used:

  • G3/DC706
  • Main cable
  • MP001 programmer
  • 3 in 1 jumper cable
  • bench jumper cable
  • battery stabilizer

obdstar dc706/g3 unlock bmw mdg1 via jumper 1

Connection Guide:

Connect G3 or DC706 with MP001 programmer via main cable.
Connect jumper cable to the MP001’s C2 connector.
obdstar dc706/g3 unlock bmw mdg1 via jumper 2
Connect jumper cable to the ECU according to the wiring diagram.
obdstar dc706/g3 unlock bmw mdg1 via jumper 3
obdstar dc706/g3 unlock bmw mdg1 via jumper 4
Connect power supply/battery stabilizer to the main cable.

obdstar dc706/g3 unlock bmw mdg1 via jumper 5
Ready to unlock, read and write ECU on bench mode.

www.obdii365.com